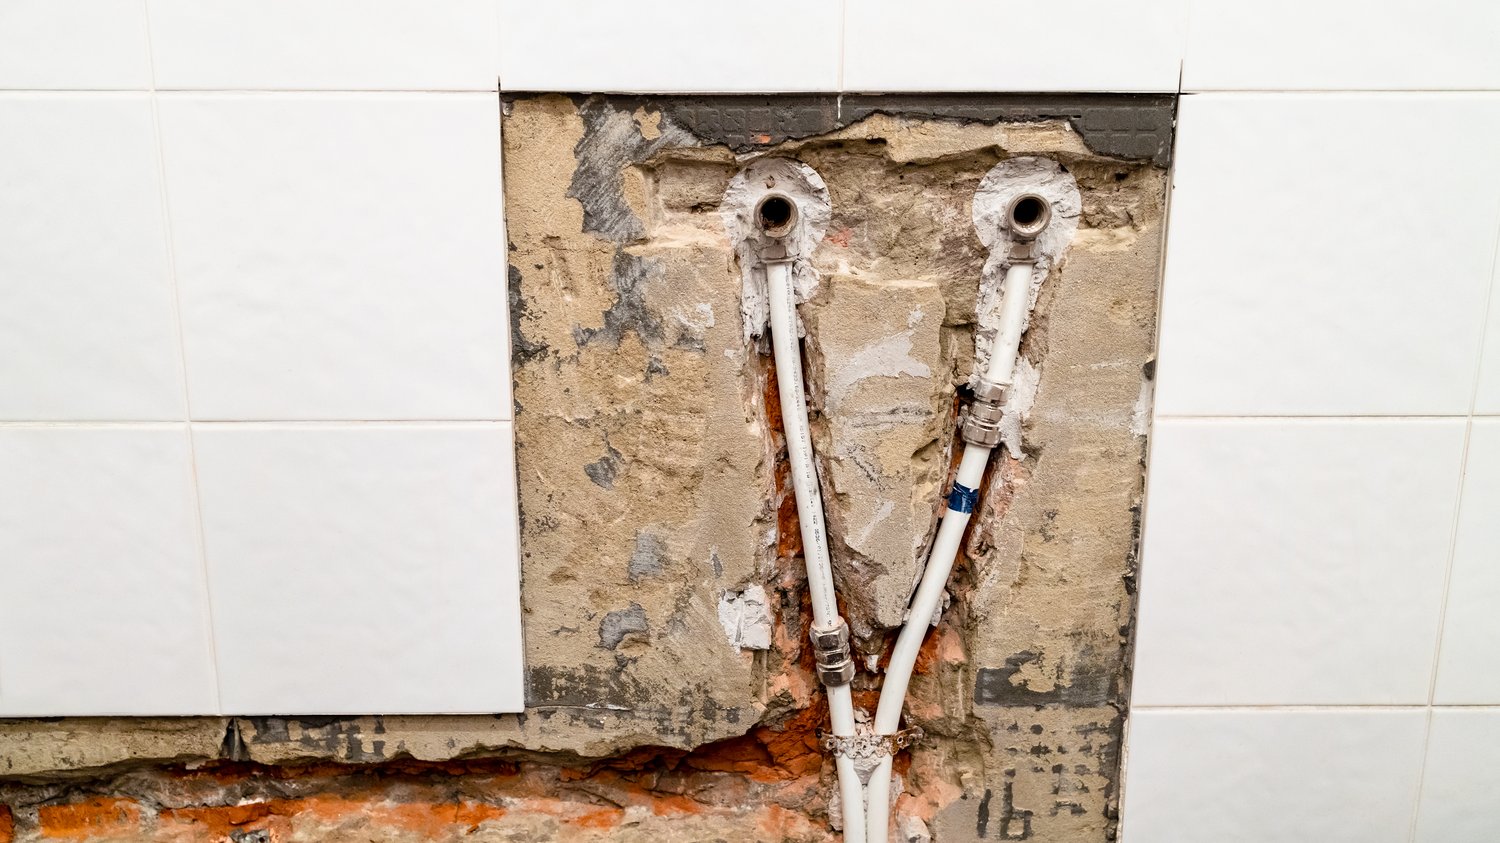
If your shower has turned into a mini-waterfall creating unwelcome puddles, it’s time to address that leaking shower base before it causes more extensive damage. Tackling this issue doesn’t have to mean tearing up tiles and starting from scratch. Let’s dive into a comprehensive guide that allows you to fix this common household problem without the hassle and cost of removing tiles.
- Identifying the Source: Pinpointing where the leak originates is crucial for effective repair.
- Inspection Techniques: Learn how to use dye tests and moisture meters to accurately detect leaks.
- Essential Tools and Materials: Gather sealants, a caulking gun, and waterproof membranes to prepare for a seamless repair.
- Prevent Future Leaks: Implement maintenance tips to enhance the longevity of your shower base.
This article will equip you with the know-how to not only fix your leaking shower base but also prevent future leaks, ensuring your bathroom remains a dry and pleasant space. Let’s get started and reclaim your shower’s functionality together.
Identifying the Source: Leaking Shower Base? Complete Repair Guide Without Removing Tiles
Dealing with a leaking shower base requires careful assessment to prevent further damage and costly repairs. To tackle this issue effectively, it’s crucial to pinpoint where the leak is originating from. This involves understanding the common areas prone to leaks. One of the primary culprits is the silicone sealant around the shower base. Over time, this sealant can deteriorate, leading to small gaps that water can seep through.
Another potential source of leaks is the junction between the shower wall and floor. Movement in the building structure or poorly installed shower base can cause shifts that lead to cracks along this junction. Additionally, examine the grout lines between your tiles. Even the smallest crack or hole in grout can allow water to penetrate, resulting in a leaking shower base.
Signs of a leaking shower base can include persistent dampness, water stains on ceilings or walls below, and even musty odors indicating mold growth. Being alert to these symptoms can help you address a minor leak before it escalates into a more significant problem, ensuring efficient shower repair without tile removal.
Inspection Techniques for a Leaking Shower Base
Once you’ve identified potential symptoms of a leaking shower base, it’s essential to employ accurate inspection techniques to confirm the leak’s exact location. Utilizing certain methods and tools can make this process much more effective.
One popular technique is the dye test. This involves applying a non-staining dye around suspected areas, such as grout or corners of the shower base. Observe whether the dye seeps through any cracks or gaps, revealing precise leak points.
Another highly effective tool is a moisture meter. When pressed against various sections of the shower base, it detects moisture levels, identifying damp areas that may be contributing to the leak. This tool can be particularly useful in assessing behind tiles or underfloor levels without having to remove any existing tiles.
By combining these inspection techniques with a keen eye for detail, homeowners can ensure they address the correct section of their leaking shower base. This kind of thorough assessment is key to conducting a successful leak repair and maintaining a waterproof shower environment.
Preparing for Repair: Essential Tools and Materials
Tackling a leaking shower base requires a precise approach, especially if you wish to avoid removing tiles. The first step in any effective repair is preparing with the right tools and materials. Having the correct equipment not only saves time but also enhances the quality of your repair, ensuring a durable fix.
Among the essential materials, high-quality sealants are crucial. You’ll want to select a mold-resistant bathroom sealant that is both waterproof and flexible, accommodating the natural expansion and contraction of surfaces.
A caulking gun is necessary to apply the sealant evenly. This tool allows for precise application along seams and edges, crucial for a watertight finish.
To provide an extra layer of protection, consider using waterproof membranes. These are especially beneficial if there’s a concern about extensive water exposure. Applying them correctly can significantly extend the lifespan of your shower base.
Additionally, ensure you have cleaning supplies, such as mild detergents and scrub brushes, at hand. This will allow you to thoroughly clean the area before applying any repairs, crucial for proper adhesion of sealants and membranes.
Gather these materials ahead of time to streamline the repair process. With everything prepared, you’ll be well-equipped to address the leak efficiently, minimizing downtime and inconvenience.
Step-by-Step Repair Approach: Leaking Shower Base? Complete Repair Guide Without Removing Tiles
Once equipped with the essential tools and materials, follow this detailed step-by-step repair approach. This guide ensures your shower base is restored without the hassle of removing tiles.
Step 1: Thorough Cleaning
Start by cleaning the shower base meticulously. Use a mild detergent and a scrub brush to remove soap scum, mildew, and any loose debris. This cleaning ensures that sealants adhere properly, providing a strong bond.
Step 2: Dry the Area
After cleaning, completely dry the shower area. Use towels or a hairdryer to ensure the base is moisture-free, as any residual water can impede the effectiveness of the sealant.
Step 3: Apply Sealant
With a caulking gun, apply the selected sealant along the seams and cracks of the shower base. Work slowly to ensure an even layer. Be particularly attentive to corners and edges, where leaks most frequently occur.
Step 4: Smooth the Sealant
Use a finger or a smoothing tool to spread the sealant, pressing it firmly into any gaps. This action ensures maximum contact and adhesion, crucial for a durable seal.
Step 5: Test for Leaks
Once the sealant is dry, run a leak test by allowing a bit of water to flow over the repaired area. Carefully check for any signs of water penetration. If the repair holds, the leak should be eliminated. Otherwise, reapply the sealant where necessary.
By following these steps, you ensure an effective repair, restoring your shower to full functionality without the need for tile removal. Regular maintenance post-repair will help sustain this solution over the long term.
Prevent Future Leaks in Your Shower Base
Maintaining the integrity of your shower base is crucial in preventing future leaks. By implementing a proactive approach, you can save both time and costly repairs.
Regular inspections are key. Make it a habit to thoroughly examine your shower base every few months. Look for signs of wear and tear, and be vigilant for any cracks or loose grout that may become problem areas over time.
Ensuring proper sealing is essential. Over time, sealants can wear out due to constant exposure to water and cleaning agents. Reapply a high-quality silicone sealant at the base and around edges at least once a year to keep moisture at bay.
Consider the use of waterproof membranes beneath the tiles if you’re planning any future renovations. These membranes provide an extra layer of protection, ensuring water doesn’t seep through to the subsurface.
Maintaining a clean and dry environment within your shower further reduces the chance of leaks. After each shower, take a moment to dry the base and remove excess water. This helps to prevent the growth of mold that can deteriorate grout and other materials.
Lastly, establish a maintenance schedule. Regularly updating your checklist with inspections and necessary repairs will contribute to the longevity of your shower base. By following these guidelines, you not only safeguard your investment but also prevent potential water damage in your home.
FAQ: Addressing Common Concerns for a Leaking Shower Base
What causes a shower base to leak?
Leaking is typically caused by damaged seals, cracks in the base, or improper drainage.
How can I identify a leak in my shower base?
Look for water stains on ceilings or walls and use a moisture meter or perform dye tests.
Can I repair a leaking shower base without professional help?
Yes, with proper tools and instructions, you can repair a shower base yourself without removing tiles.
What tools are necessary for shower base repair?
Essential tools include sealant, a caulking gun, and a waterproof membrane.
How do I prevent future leaks after repairing my shower base?
Conduct regular inspections, maintain good drainage, and reseal any worn-out areas promptly.


