Water heaters are often overlooked until they stop working, leaving you with cold showers and added stress. But what if you could extend the life of your water heater by up to five years with just a few simple maintenance steps? This article dives into easy DIY methods that can save you money and keep your water heater running efficiently.
- Regular maintenance: Understanding the importance of tasks like flushing the tank to prevent efficiency-reducing sediment buildup.
- Flushing the tank: Discover how draining and flushing your tank can remove sediment and enhance performance.
- Anode rod inspection: Learn why the anode rod is essential for preventing tank corrosion and how regular checks contribute to longevity.
By following these straightforward maintenance steps, you’ll not only extend the lifespan of your water heater but also ensure its efficient operation, cutting down on unexpected repairs and costs. Dive in and explore how to maintain your water heater proactively.
Understanding DIY Water Heater Maintenance: Extend Lifespan by 5 Years with These Simple Steps
Regular maintenance of your water heater is crucial to prevent unexpected breakdowns and costly repairs. By implementing a few straightforward DIY maintenance tasks, you can significantly extend your water heater’s life expectancy by up to five years. Understanding these steps can save you time and ensure your system operates smoothly and efficiently.
Two key maintenance tasks stand out for their impact: flushing the tank and checking the anode rod. Flushing the tank involves removing accumulated sediment that can hinder performance and energy efficiency. Meanwhile, inspecting the anode rod helps prevent tank corrosion, one of the leading causes of water heater failure.
By focusing on these tasks, not only do you enhance the water heater’s efficiency, but you also promote a more reliable supply of hot water. Performing regular checks and maintenance can turn potential issues into manageable tasks, keeping your unit in top condition.
Flushing the Tank: A Key Step in Maintaining Your Water Heater
Sediment buildup is a common issue in water heaters that can drastically affect your system’s efficiency and lifespan. Over time, minerals in the water, such as calcium and magnesium, settle at the bottom of the tank. This sediment can create a barrier between the water and the heating element, causing your heater to work harder and consume more energy.
To address this, it’s essential to flush your water heater’s tank regularly. Here’s how to safely perform this maintenance task:
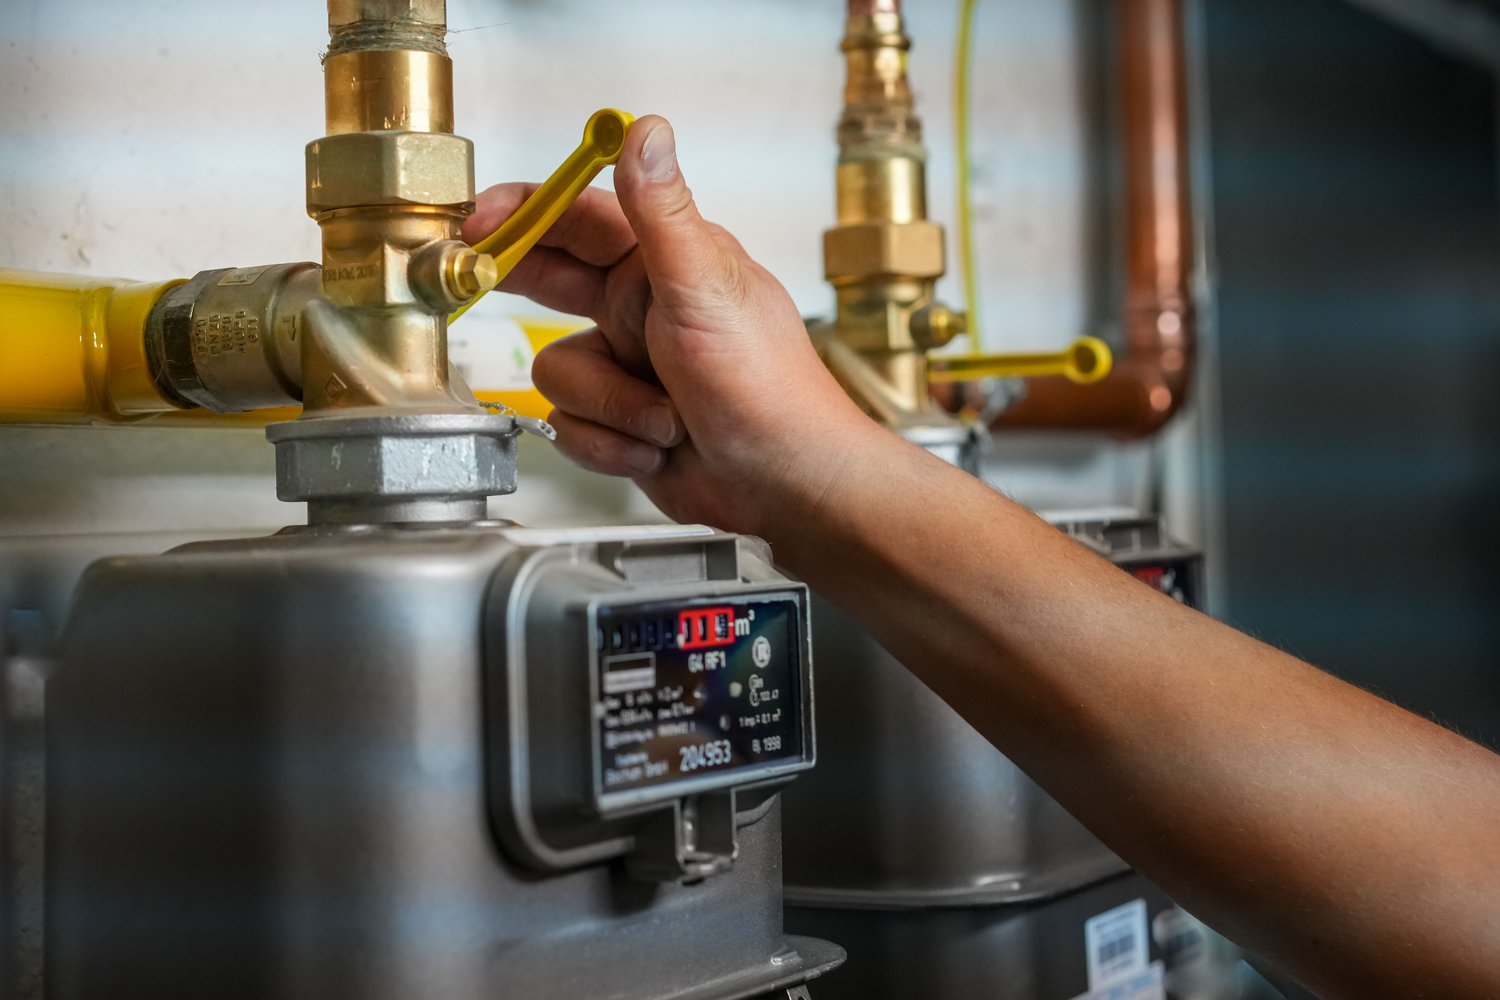
1. Turn off the power supply or gas to ensure safety. Allow the water heater to cool slightly before proceeding.
2. Connect a garden hose to the drain valve. Lead the hose to a safe drainage location, such as a floor drain or an outdoor area.
3. Open the drain valve to allow the water to flow out. This process will help remove the accumulated sediment from the bottom of the tank.
4. Flush the system until the water runs clear. This indicates that most of the sediment has been removed.
By incorporating this simple but effective step into your routine, you not only enhance your water heater’s performance but also extend its operational life and efficiency.
Inspecting and Replacing the Anode Rod: DIY Water Heater Maintenance to Extend Lifespan by 5 Years with These Simple Steps
The anode rod is a critical component of your water heater, acting as the first line of defense against tank corrosion. Without this protective element, corrosion would significantly reduce your water heater’s lifespan, leading to costly repairs or replacements.
Regularly inspecting the anode rod is essential. Ideally, conduct a check every year to ensure it’s still effective. A typical anode rod is composed of magnesium or aluminum surrounding a steel wire. Over time, this rod will diminish as it attracts corrosive elements that could otherwise harm your tank.
To inspect the anode rod, first safely turn off the power and water supply. Carefully remove the rod, usually accessible from the top of the tank. Look for signs of deterioration, such as visible steel or significant thinning of the rod. If you notice these signs, it’s time to replace it.
Replacing anode rods is straightforward. Purchase a compatible replacement from your local hardware store or an online supplier specializing in water heater parts. Reinstallation involves gently inserting the new rod and ensuring it is securely fastened.
By giving attention to the anode rod, you invest in the longevity of your water heater. Such preventive steps are crucial for maintaining peak efficiency, ultimately saving time and money while providing peace of mind.
Frequently Asked Questions About DIY Water Heater Maintenance
Why is flushing the water heater tank important?
Flushing the tank removes sediment buildup, which can reduce efficiency and cause the unit to work harder, leading to potential damage.
How often should I inspect the anode rod?
Inspect the anode rod every 1-2 years to ensure it is preventing corrosion effectively. Replace if more than 50% has worn away.
Can I flush the water heater myself or do I need a professional?
Yes, you can flush it yourself. Ensure the power supply is off and follow step-by-step instructions to do it safely.
What signs indicate it’s time to replace the anode rod?
Check for significant rust or if the rod is less than half its original diameter.
Is DIY maintenance enough to keep the water heater in good condition?
Regular DIY maintenance can significantly extend your water heater’s lifespan, but periodic professional inspections are also recommended.