Imagine turning on your kitchen tap only to wonder if the water you use daily might be compromising your family’s health. The threat of lead contamination in residential plumbing is a silent hazard that can have lasting effects on both your well-being and the environment. With lead pipes still present in many older homes, it’s crucial to equip yourself with the knowledge to test and replace them effectively. This guide will not only help you understand the risks but also provide actionable solutions for a safer home.
- Understanding the Risks: Uncover the hidden dangers of lead in your plumbing and how it can impact both your health and water quality.
- Testing Methods: Explore DIY testing techniques that make identifying lead in your plumbing both accessible and practical.
- DIY Detection: Follow our step-by-step process to conduct efficient lead tests with minimal expense.
- Replacement Strategies: Discover effective solutions to replace lead pipes, whether tackling the task yourself or hiring a professional.
By the end of this guide, you’ll be well-equipped with the tools and strategies necessary to ensure your home’s plumbing is safe and lead-free, protecting your family and contributing to a healthier environment. Dive in to safeguard your home today.
Understanding the Risks: How to Test for Lead in Your Home’s Plumbing
Lead contamination in plumbing poses a significant risk to both health and the environment. Even at low levels, lead in drinking water can have serious health implications, impacting brain development in children and increasing the risk of kidney problems and high blood pressure in adults.
Understanding these risks highlights the importance of testing for lead in your home’s plumbing. The presence of lead can deteriorate water quality, making it unsafe for consumption and daily use. Identifying this contamination early on is vital to prevent these adverse health effects and to ensure the safety of your household.
Lead can enter your plumbing system through a variety of pathways, including old lead pipes, fixtures, and solder used in plumbing systems. This makes regular testing not just a precaution, but a necessary step in maintaining a healthy living environment.
Staying informed about the potential dangers and proactive testing measures will help you minimize the risk and protect your family from the harmful effects of lead. With clearer insight into these risks, you can take the necessary steps towards ensuring a lead-free home.
Testing Methods: How to Identify Lead in Pipes
Exploring various DIY testing techniques is essential for effectively identifying lead contamination in your plumbing system. Several methods are available, allowing you to choose the most suitable option based on your specific needs and circumstances.
One of the most accessible options is using a lead test kit, which is readily available at most hardware stores. These kits typically include test strips or swabs that react to the presence of lead, providing a preliminary assessment of your water quality.
Another method is to conduct a water test through a certified laboratory, which involves collecting a sample and sending it off for detailed analysis. This process offers more precise results, especially if initial home tests indicate potential lead contamination.
The EPA also recommends examining your home’s plumbing materials and construction date to assess the likelihood of lead presence. Knowing when your home or plumbing was built can be an indicator, as lead pipes were common in homes constructed before 1986.
Deciding on a lead testing method involves considering factors such as accuracy, cost, and convenience. By choosing the right approach, you can ensure accurate detection of lead and take appropriate action to mitigate any risks posed by contaminated plumbing.
DIY Detection: How to Test for Lead in Your Home’s Plumbing
Testing for lead in your home’s plumbing is crucial for safeguarding your health and ensuring water safety. By following these step-by-step instructions, you can conduct effective lead tests on your plumbing system without incurring significant expenses.
First, gather your tools. You’ll need a lead testing kit, which is readily available online or at your local hardware store. These kits often include testing swabs and instructions for use.
Begin by identifying test points. Common areas to test include faucets, where water comes into contact with plumbing made from potentially hazardous materials. Select several locations throughout your home for a comprehensive assessment.
Next, follow the instructions provided with your lead testing kit. Typically, this involves placing the test swab in contact with the plumbing surface or water sample. After the prescribed wait time, check the results against the provided color chart to determine if lead is present.
For more accurate readings, consider sending a water sample to a certified laboratory. This ensures that any lead levels are quantitatively measured, helping you make informed decisions about potential plumbing renovations.
The entire process is straightforward but requires attention to detail. By taking these steps, you can confidently determine the presence of lead in your home’s plumbing and proceed with remedial actions if necessary.
Replacement Strategies: A Guide to Safe Plumbing Renovation
Once you’ve identified lead in your home’s plumbing, replacing it with safer materials is essential. This process can be approached through DIY methods or by hiring professional plumbing services, depending on your comfort level and budget.
If you are considering a DIY plumbing renovation, start by researching replacement materials. Copper, PEX, and PVC are popular choices known for their safety and durability. Each material has its cost and installation considerations, so choose based on your specific needs and preferences.
Before starting the replacement, turn off the main water supply to prevent leaks. Carefully remove the lead pipes, ensuring you contain any dust or debris that might pose further health risks.
When installing new pipes, follow manufacturer guidelines or seek guidance from online tutorials. Taking these precautions will ensure a smooth installation process and help avoid common plumbing mistakes.
If opting for professional services, hire licensed plumbers experienced in lead pipe replacements. Professionals can provide additional advice on modern plumbing solutions, such as energy-efficient plumbing and the latest in plumbing technology, which may enhance your home’s overall water usage efficiency.
In both scenarios, replacing lead pipes with safer alternatives is a valuable investment in your home’s health and water safety. Engaging in proactive plumbing renovations not only protects your family but may also increase property value by adhering to current health and safety standards.
Frequently Asked Questions about Lead in Plumbing
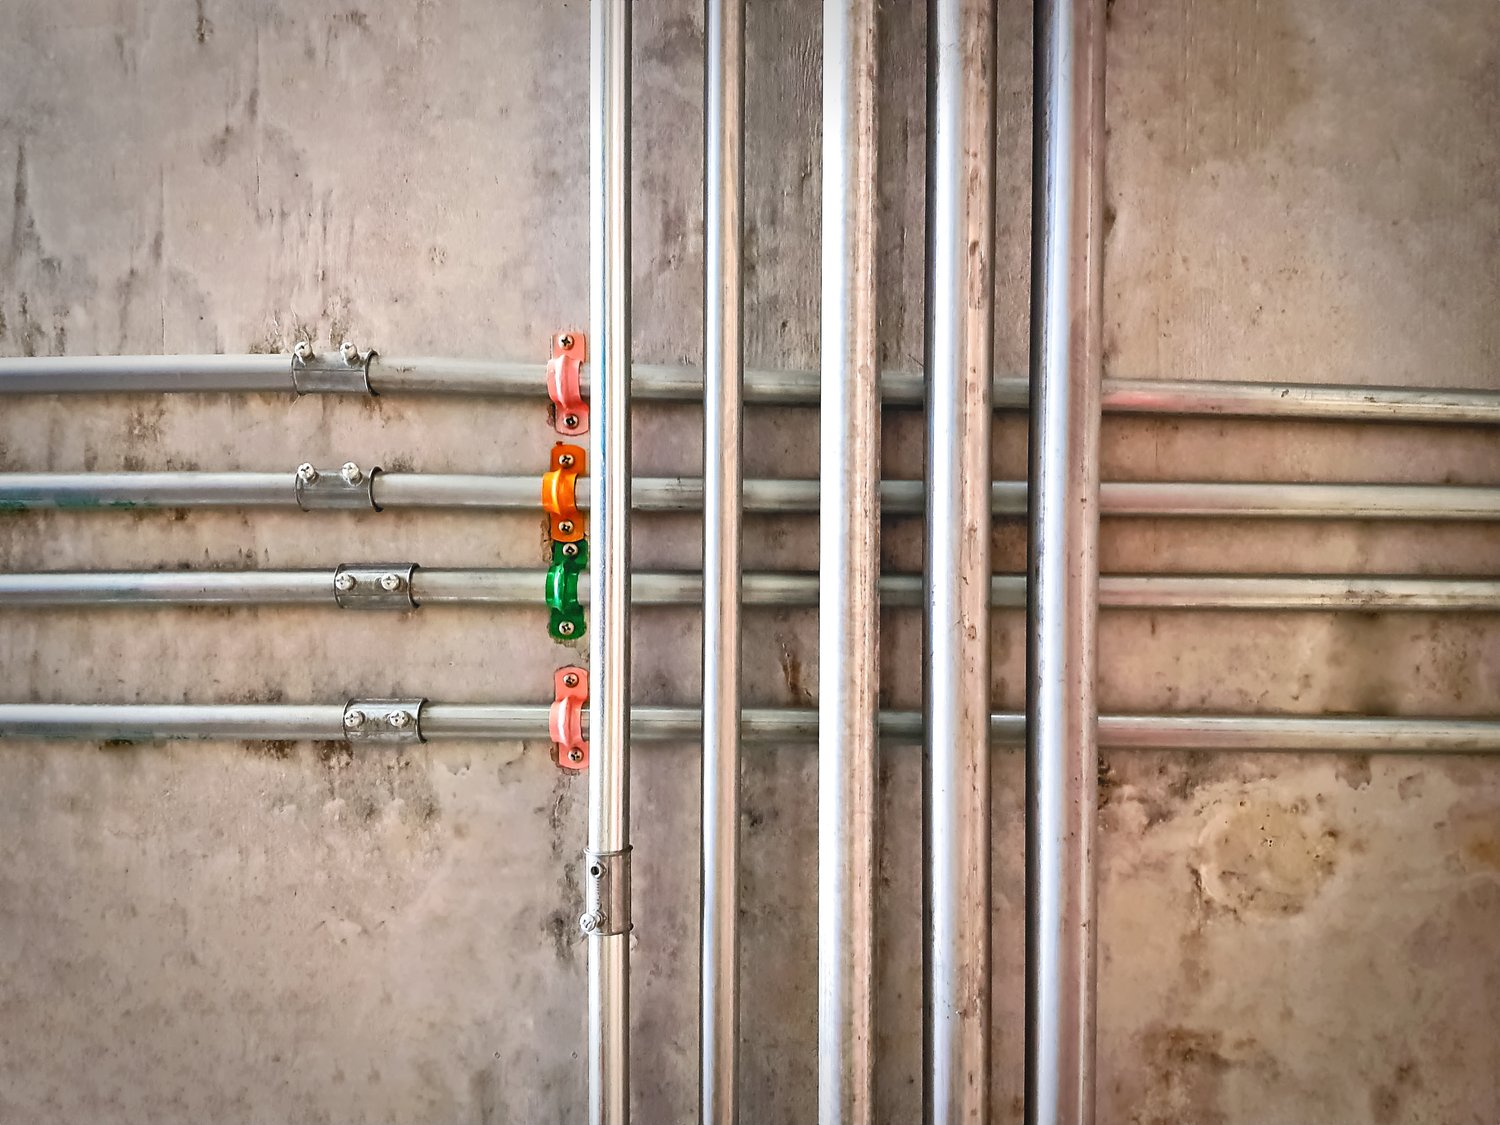
How can I tell if my pipes contain lead?
Look for dull gray metal pipes; lead is soft and you can often scratch it easily.
What are the health risks of lead in drinking water?
Lead exposure can cause serious health problems, including developmental issues in children and kidney damage in adults.
Can I test for lead in water myself?
Yes, you can use home water testing kits available at hardware stores to check for lead.
How often should I test my water for lead?
It is recommended to test your water once a year, especially if your home has old plumbing.
Is it necessary to replace all the pipes if lead is detected?
Not always; consult a professional to determine the most effective sections to replace.
Are there safer pipe materials available now?
Yes, PVC and PEX are common safe alternatives for replacing lead pipes.
Will using a water filter remove lead?
Certain water filters are designed to reduce lead; check for NSF certification for lead removal.