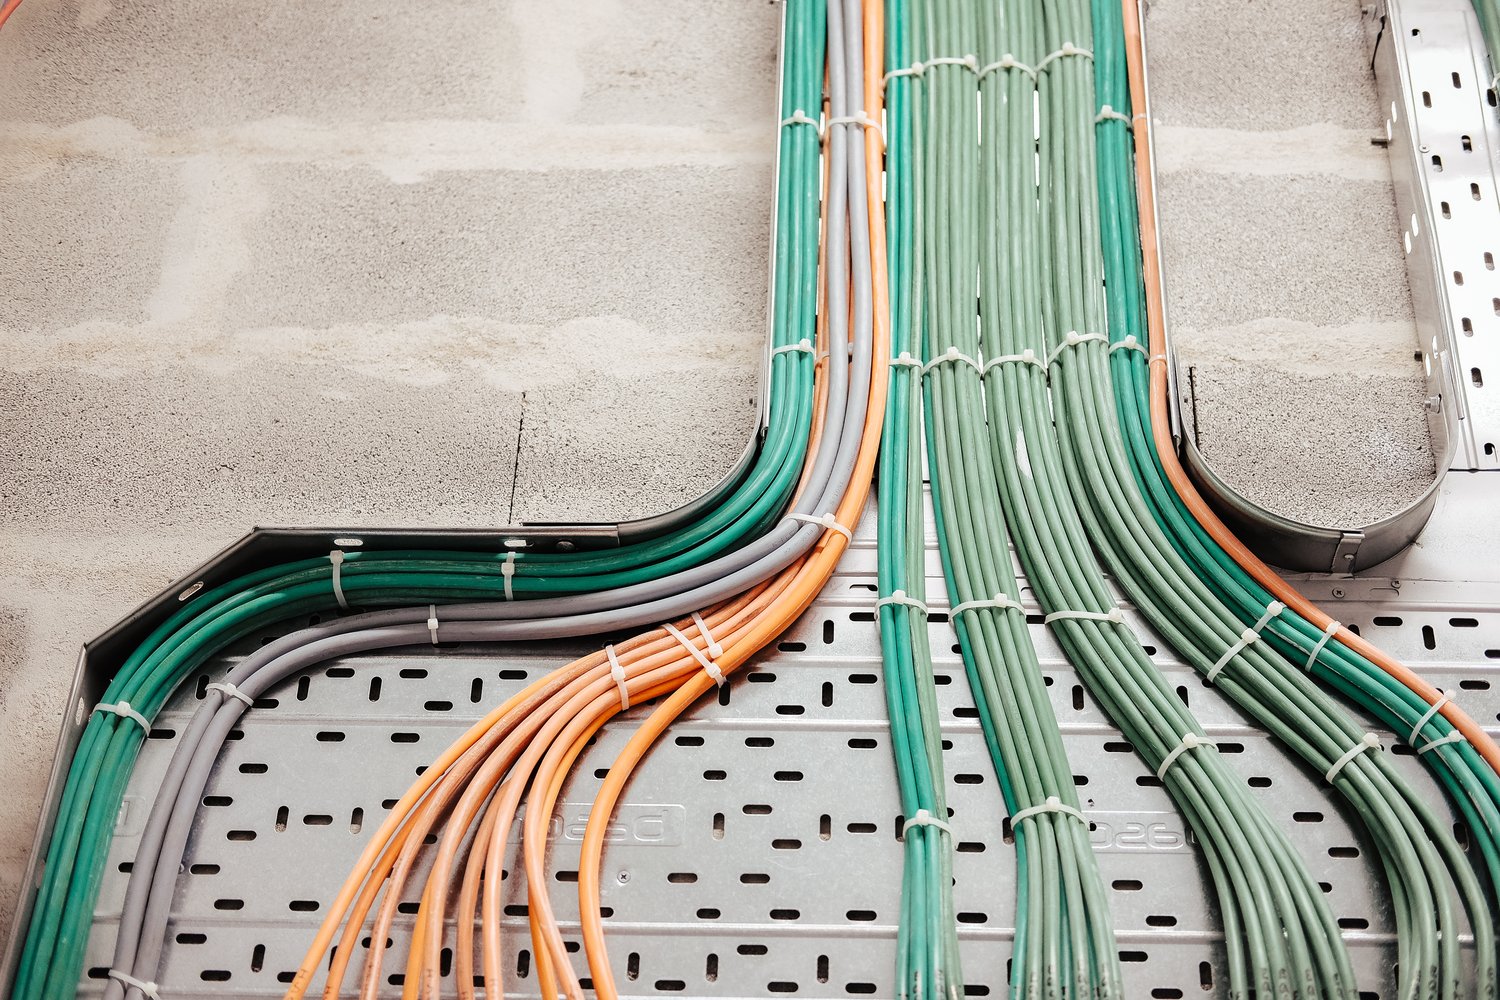
Are tangled cables turning your entertainment area into a cluttered eyesore? Discover the transformative power of in-wall cable management and learn how this simple yet effective solution can instantly elevate your space’s aesthetic. Whether you’re a seasoned DIY enthusiast or a curious beginner, mastering the art of hidden wiring could be the key to achieving that sleek, professional look you’ve always wanted in your living room.
- Preparation is Key: Learn about the essential tools and steps required for a seamless in-wall cable management installation.
- Safety Measures: Understand crucial safety precautions to prevent hazards and ensure a secure working environment.
- Step-by-Step Process: Follow a detailed walkthrough of installing cable management systems for an organized and clutter-free setup.
By exploring these insights, you’ll be well-equipped to tackle your own installation project, enhancing both functionality and aesthetics. Dive into the details and discover how you can transform your space with a few expert tips and techniques.
Setting Up for Success: Tools and Preparation for In-Wall Cable Management
Embarking on an in-wall cable management installation begins with proper preparation. First, gather essential tools like a stud finder, fish tape, drywall saw, and cable management kit.
A stud finder will help you locate studs and avoid drilling into them. Meanwhile, a fish tape allows you to easily guide the cables through walls. The drywall saw is essential for cutting precise access points, while a cable management kit provides the necessary components to keep cables secure and organized.
Next, outline your plan for cable routing. Ensure you consider the layout of your entertainment space and determine the optimal path for the cables. It’s crucial to measure distances accurately to avoid short cables or unnecessary slack.
Before making any cuts, double-check wall areas for any potential obstructions such as plumbing or electrical systems. This initial planning will save time and prevent the need for costly adjustments later.
Safety First: Ensuring a Secure Environment
Prioritizing safety is vital when undertaking in-wall cable management installations. Start by switching off power in the work area to prevent any risk of electrical shock.
Ensure that you have inspected walls for the presence of electrical wires or plumbing. Utilize your stud finder to help identify these potential hazards effectively.
When using tools, wear appropriate protective gear like safety goggles and gloves. This will shield you from dust and any sharp edges resulting from cutting drywall.
Secure the work area by keeping tools and materials organized. This helps prevent any accidental injuries. By adhering to these safety precautions, you can achieve a seamless and secure in-wall cable management installation.
Step-by-Step Guide: How to Install In-Wall Cable Management
Achieving a tidy and professional look for your TV and entertainment wiring is possible with in-wall cable management. This step-by-step guide will help you navigate through the installation process painlessly. With the right approach, you can enjoy a sleek home theater setup free from the clutter of exposed cables.
Firstly, marking the wall is a crucial step. Begin by determining the specific locations where your cables need to enter and exit the wall. These are usually at the outlet behind the television and another at the bottom near your power source or entertainment console. Use a pencil to outline the areas where the cable management boxes or wall plates will be installed.
Next, you’ll move on to cutting access points. Before cutting, double-check for any existing electrical lines or plumbing. Using a stud finder, ensure these areas are clear of any obstructions. With a drywall saw or a sharp utility knife, carefully cut the wall where you’ve marked. Create openings just large enough to install the cable management kit’s wall plates or boxes securely.
Proceed to routing the cables through the wall. Insert a fish tape, a flexible steel tape commonly used for pulling wires through walls, at the top opening and guide it down to the bottom. Securely attach your cables to the fish tape and pull them through the wall until they emerge from the bottom access point.
Once your cables are positioned correctly, ensure they’re not tangled or twisted. This prevents future complications when devices are plugged in or moved. Install the wall plates or cable pass-through grommets, ensuring they are flush with the wall surface for a polished look.
Finally, connect the cables to your entertainment devices and ensure everything is working as expected. A seamless setup is crucial for both aesthetic and functional purposes. Your newly installed in-wall cable management should now provide a clean and organized entertainment space.
By carefully following these steps, you can significantly enhance your home’s visual appeal while maintaining efficient cable management. Whether you’re a DIY enthusiast or a professional installer, these techniques offer reliable solutions for tidy wiring projects.
Frequently Asked Questions about In-Wall Cable Management
What are the basic tools needed for in-wall cable management?
- Stud finder: To locate wall studs.
- Drywall saw: For cutting access points.
- Fish tape or wire coat hanger: To guide cables through the wall.
- Level: Ensures straight cuts and alignment.
- Screwdriver and drill: Essential for securing mounting plates.
How do I ensure an installation is safe?
- Turn off power at the service panel to avoid electrical hazards.
- Use a voltage detector to verify the power is off.
- Avoid drilling near electrical wires and water pipes.
Can I install the cable management system myself?
Yes, with the right tools and preparation, most homeowners can install an in-wall cable management system independently. However, consult a professional if unsure.
How do I avoid damaging my walls?
- Use a stud finder to mark safe drilling spots.
- Utilize a drywall saw for precise cutting.
Is professional help necessary for this type of installation?
Professional help is recommended if you’re uncomfortable with DIY installations or dealing with complex wiring setups.
What type of cables can be managed using in-wall systems?
Most audio/visual and power cables can be routed through in-wall systems, provided they are rated for in-wall use.