Transform the way you manage your home’s energy efficiency and roof health with DIY attic ventilation improvements. By optimizing airflow, you not only lower cooling costs but also protect your roof from costly damage. This article will unravel the significance of proper attic ventilation and guide you through practical solutions that ensure safety and effectiveness for your DIY projects.
- Gain insights into different attic ventilation systems like ridge, soffit, and gable vents.
- Explore step-by-step methods to enhance attic ventilation and tackle common installation challenges.
- Understand how improved airflow can lead to reduced energy bills and prevent moisture-related roof issues.
Discover how these strategies can contribute to a more energy-efficient and structurally sound home, making this a worthwhile investment in your property’s future. Dive deeper into the article to learn how you can implement these changes effectively.
Understanding DIY Attic Ventilation Improvement: Key Strategies to Reduce Cooling Costs and Prevent Roof Damage
Improving your home’s attic ventilation is a smart investment that can lead to significant energy savings and prevent costly roof repairs. The concept of attic ventilation revolves around ensuring a balanced airflow within the attic space. This balance is crucial for maintaining optimal temperatures and reducing lingering moisture.
Properly installed attic ventilation helps to reduce cooling costs by allowing hot air to escape, thus minimizing the strain on your cooling systems during warmer months. It also plays a pivotal role in protecting your roof. By preventing moisture buildup, it reduces the risk of mold, mildew, and water damage, which are common culprits of structural deterioration.
Understanding the dynamics of air circulation is essential. Attic ventilation typically involves the strategic use of intake and exhaust vents that work in harmony. This setup ensures that fresh air enters, stale and hot air exits, and the entire process remains energy-efficient.
By implementing effective DIY attic ventilation strategies, homeowners can enjoy not only increased comfort and lower energy bills but also a longer-lasting and healthier roofing system.
Ventilation Types and DIY Approaches
There are several types of attic ventilation systems available, each designed to cater to different architectural needs and climate conditions. Understanding these options can help you choose the most suitable one for your home.
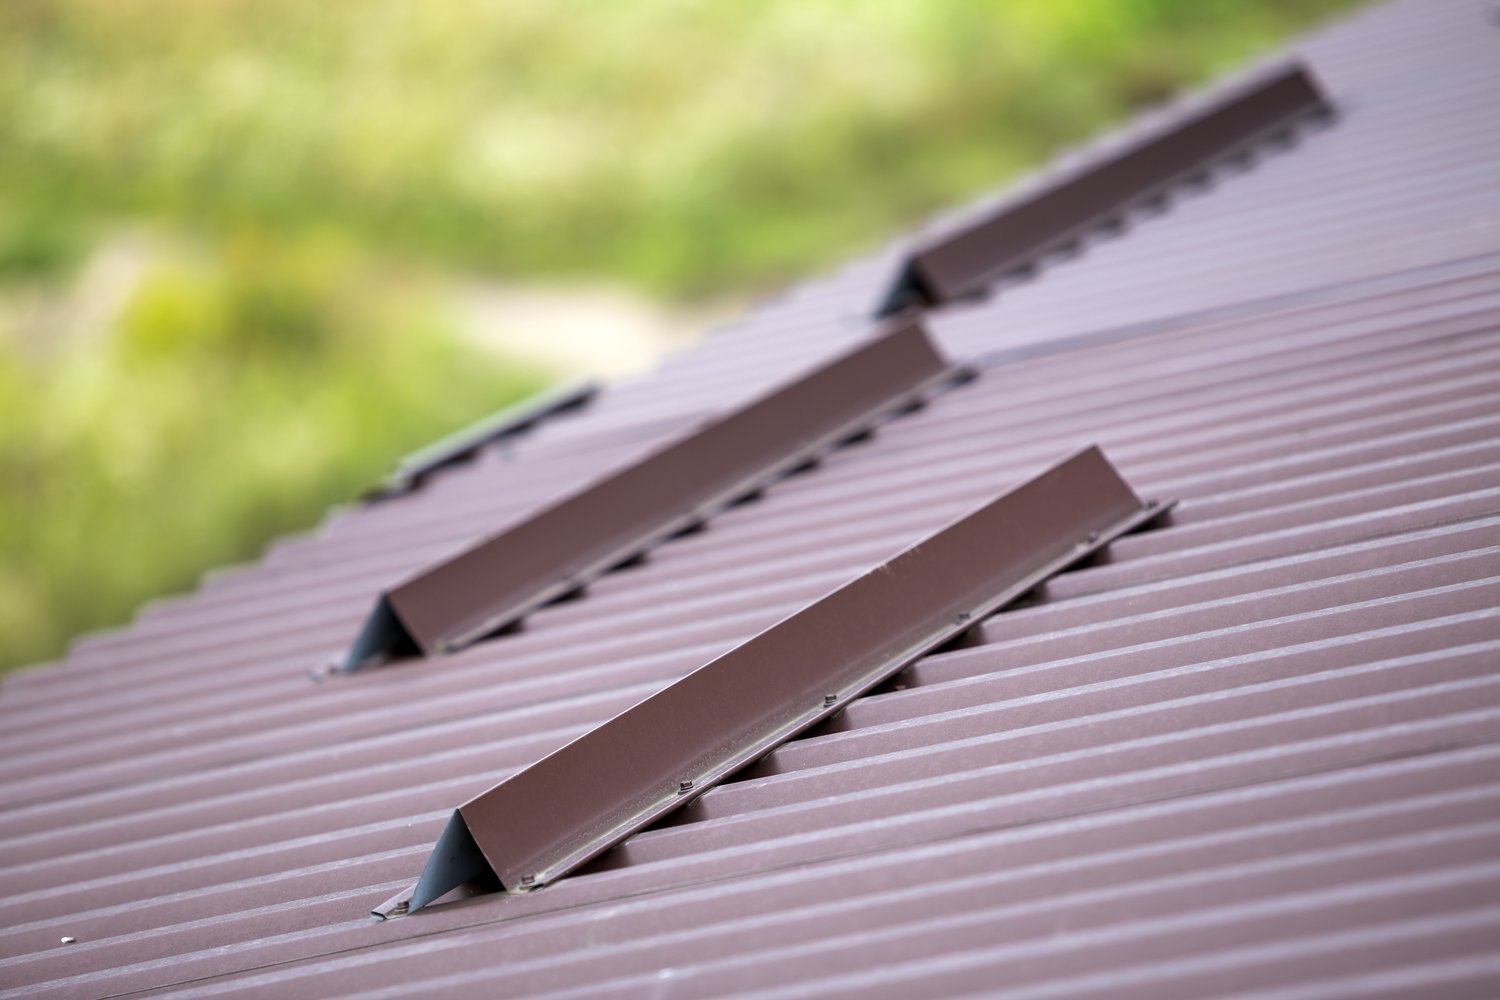
Ridge Vents: Installed at the peak of the roof, ridge vents provide continuous airflow along the roof’s ridge. DIY installation involves cutting slots on the roof peak before securing the vent.
Soffit Vents: Positioned under the roof eaves, soffit vents facilitate airflow intake. Installing these vents often requires drilling holes in the soffit material and fitting them securely.
Gable Vents: Positioned on the gable ends of the house, these vents help facilitate cross ventilation. They can be installed by cutting into the gable and attaching the vent housing.
Adopting a DIY approach to installing these ventilation systems can be a cost-effective solution for homeowners with the right tools and safety awareness. Prioritize accurate measurements and adherence to manufacturer’s guidelines to ensure a secure and efficient installation.
Choosing the appropriate type of attic ventilation and executing a safe installation can dramatically enhance your attic’s airflow, contributing to reduced energy consumption and prolonged roof lifespan.
DIY Attic Ventilation Improvement: Practical Steps to Enhance Efficiency and Minimize Roof Issues
Improving your attic’s ventilation is an excellent way to enhance energy efficiency and prevent costly roof repairs. By following a few straightforward steps, you can boost your attic’s airflow, making your home more comfortable and reducing cooling expenses.
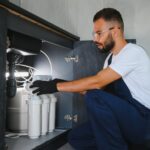
Start by ensuring you have the necessary tools and materials ready. You’ll typically need a ladder, a drill, venting materials (such as ridge vents or soffit vents), and safety gear like gloves and safety goggles.
Firstly, assess your attic’s current ventilation system. Identifying existing vents can help you determine what types of improvements are necessary. Check for wear or blockages that might impede airflow. This is crucial for preventing moisture build-up, which can damage your roof structure.
Next, measure the attic’s square footage to figure out the amount of ventilation required. Properly calculating the needed intake and exhaust vents will ensure balanced air circulation. As a rule of thumb, aim for a 1:300 ratio of attic area to ventilation — for example, one square foot of venting for every 300 square feet of attic space.
Once you’ve decided on the vent type, begin the installation process. For ridge vents, carefully cut a slot at the roof’s peak and attach the vent cap using the manufacturer’s guidelines. For soffit vents, drill evenly spaced holes along the eaves, ensuring unobstructed airflow.
While installing, stay mindful of common obstacles, such as ensuring the vents remain clear of insulation and debris. Regular inspections post-installation are vital to maintain peak efficiency. Make sure to address any blockage as soon as possible.
Throughout this process, prioritize safety. Ventilation work often means climbing onto roofs or into attics, so take every precaution. If unsure about any step, consult a professional to avoid mishaps.
By implementing these DIY attic ventilation improvements, you not only enhance your home’s energy efficiency but also protect your roof from moisture-related damages — a worthwhile investment for any homeowner.
Frequently Asked Questions on DIY Attic Ventilation Improvement
Why is attic ventilation important for my home’s energy efficiency?
Proper ventilation reduces cooling costs by allowing hot air to escape, keeping your home cooler naturally.
What problems can poor attic ventilation cause?
It can lead to increased energy costs, moisture buildup, and potential roof damage.
What types of attic vents can I install myself?
- Ridge vents
- Soffit vents
- Gable vents
Is DIY attic ventilation improvement safe?
With proper precautions and tools, DIY projects can be safe, but always prioritize safety and consult experts when needed.
What tools do I need for installing attic vents?
You’ll typically need a drill, saw, screws, and a measuring tape.
How often should I check my attic ventilation system?
It’s advisable to inspect your ventilation system annually to ensure it remains effective.