Transform your living space into a sanctuary of clean air and comfort by installing a whole-house ventilation system. More than just a practical upgrade, this system plays a crucial role in enhancing indoor air quality and effectively controlling humidity. This article will guide you through the essential steps and considerations needed for a successful and efficient installation that caters specifically to your home’s needs.
- Understanding whole-house ventilation: Discover the key components and benefits of ventilation systems in maintaining a healthy indoor environment.
- Preparation is key: Learn how to evaluate your home’s ventilation needs and choose the right system for optimal performance.
- Step-by-step installation: Follow a comprehensive guide on installing your ventilation system to ensure effective air quality improvement and humidity reduction.
By following these insights, you’ll be equipped to create a healthier living environment. Whether you’re a DIY enthusiast or seeking professional help, this guide sets the foundation for improving your home’s air quality for years to come.
Understanding Whole-House Ventilation Systems for Improved Air Quality and Humidity Reduction
Whole-house ventilation systems are integral to creating and maintaining healthy indoor environments. They play a crucial role in ensuring optimal air quality and humidity levels within a home. These systems work by continually exchanging indoor air with fresh outdoor air, thereby reducing indoor pollutants, allergens, and excess humidity.
Components of a whole-house ventilation system typically include air ducts, fans, and vents. These elements are designed to operate cohesively, providing efficient air circulation throughout the entire home. This kind of system not only improves the breathable air but also enhances overall energy efficiency, as it reduces the workload on heating and cooling systems.
Incorporating a whole-house ventilation system is especially vital in modern homes that are built to be more airtight for energy conservation. Such airtight construction often traps pollutants indoors, making an effective ventilation system necessary for healthy living conditions.
Preparing for Installation: Key Steps in Installing a Whole-House Ventilation System
Before installing a whole-house ventilation system, there are several key preparatory steps to ensure a successful and efficient setup. The first step is evaluating your home’s needs. Assess factors like the home’s size, the number of occupants, and existing ventilation systems. This evaluation helps in determining the appropriate capacity and type of ventilation system.
Selecting the right system is crucial and involves deciding between options like balanced ventilation, heat recovery ventilators (HRVs), or energy recovery ventilators (ERVs). Each system has its own benefits, so choosing the one that aligns with your specific requirements is essential.
Planning the layout is another critical step. Consider the placement of ducts, fans, and vents to maximize airflow efficiency. Proper layout planning not only ensures effective air exchange but also minimizes potential installation challenges.
Understanding these preparatory steps not only enhances the longevity and performance of the system but also optimizes indoor air quality and comfort for inhabitants.
Step-by-Step Guide on How to Install a Whole-House Ventilation System: Improve Air Quality and Reduce Humidity
Embarking on the installation of a whole-house ventilation system can seem daunting, yet with careful planning and execution, it can significantly enhance indoor air quality and reduce humidity levels. This step-by-step guide will help you navigate the technical aspects and provide practical tips to ensure an efficient setup.
1. Assessing Your Home’s Ventilation Needs
Begin by evaluating your home’s ventilation requirements based on its size, layout, and existing ventilation solutions. Consult a professional if necessary to determine the airflow capacity needed to maintain optimal air quality and humidity levels effectively.
2. Choosing the Right Ventilation System
Select a system that aligns with your home’s specific needs. Energy recovery ventilators (ERVs) and heat recovery ventilators (HRVs) are popular choices. They are known for their efficiency in maintaining energy savings while improving air quality.
3. Planning the Installation Layout
Next, determine the most strategic placement for your ventilation components. This includes intakes, exhausts, and ductwork. Correct placement is crucial for optimal performance. Ensure accessibility for maintenance and checks.
4. Gathering Required Tools and Materials
Arm yourself with all necessary tools and materials for installation, which may include duct tape, screws, brackets, and the ventilation unit itself. Confirm that all components are compatible with your chosen system.
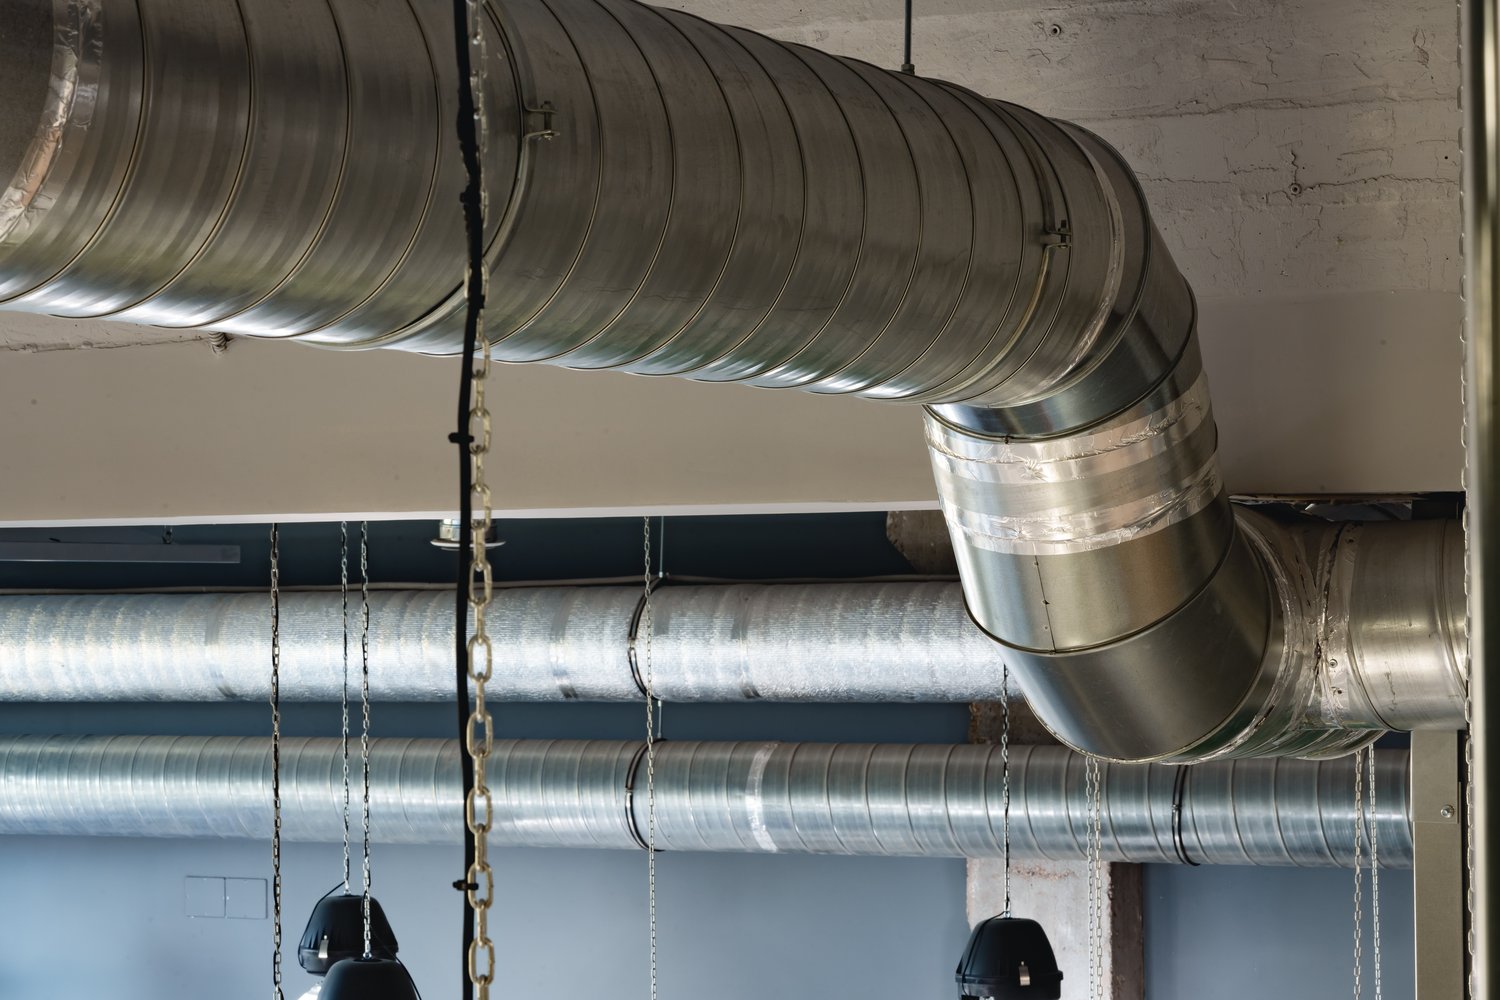
5. Installing the Ductwork
Proceed by installing the ductwork, ensuring that it is properly sealed and insulated. This reduces energy loss and maintains system efficiency. The ductwork should be routed to avoid obstructions and allow for smooth airflow.
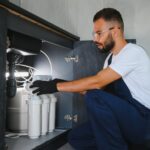
6. Setting Up the Ventilation Unit
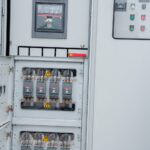
Mount the ventilation unit following the manufacturer’s guidelines. Secure the unit firmly to prevent vibrations and noise during operation. Connect electrical components according to safety standards to avoid hazards.
7. Testing the System
Once installed, conduct a thorough test run of the system. Check for leaks in the ductwork, ensure the airflow is consistent, and verify that the unit operates silently. Adjust the settings to match your home’s ventilation needs for optimal air quality and humidity control.
With meticulous attention to each step, the installation of a whole-house ventilation system can transform your indoor environment, enhancing both comfort and health. If in doubt, don’t hesitate to seek professional assistance to guarantee a successful installation.
Whole-House Ventilation System FAQ
What is a whole-house ventilation system?
A whole-house ventilation system provides controlled and uniform ventilation throughout the entire home, improving indoor air quality and reducing excess moisture.
Why install a whole-house ventilation system?
It ensures better air quality, reduces indoor air pollution, and controls humidity levels, enhancing overall health and comfort in a dwelling.
How does a whole-house ventilation system work?
- It circulates fresh outdoor air throughout the house.
- Removes stale indoor air.
- Balances humidity levels by replacing excess moisture with drier air.
What factors should I consider before installation?
Evaluate your home’s specific needs, choose the appropriate system type, and plan the optimal layout for efficient air distribution.
Can I install a whole-house ventilation system myself?
While DIY installation is possible, it involves technical steps. Professional help is recommended for optimal results.
How much does a whole-house ventilation system cost?
The cost varies based on system type, home size, and installation complexity. Expect to pay between £1,500 and £3,500 on average.