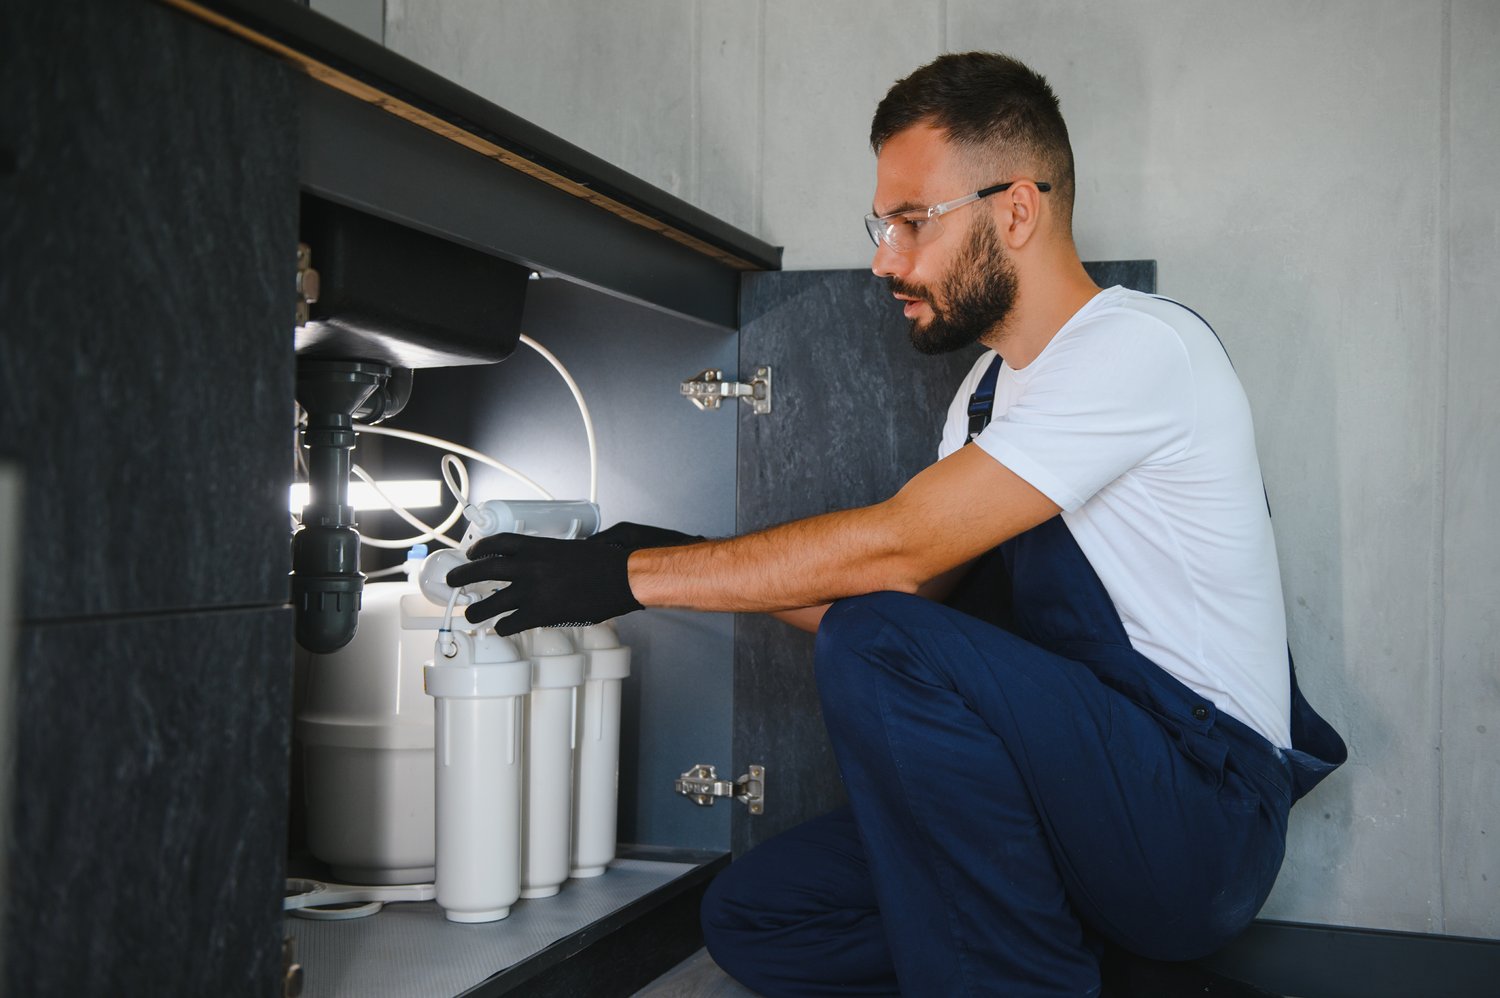
Transform your kitchen into a more efficient and cleaner space by upgrading your sink with a garbage disposal installation in under 2 hours. This project not only saves you time but also enhances the functionality of your kitchen, making meal cleanup a breeze.
- Discover the essential tools and materials needed to prepare for your sink upgrade with confidence.
- Follow a detailed, step-by-step guide to ensure a safe and efficient garbage disposal installation.
- Troubleshoot common installation issues to prevent leaks and clogs for a hassle-free sink transformation.
Dive into this article to discover how quickly and easily you can enhance your kitchen’s efficiency, encouraging you to share your own experiences or seek further guidance for your next home improvement project.
Essential Tools and Materials for DIY Garbage Disposal Installation
Before diving into the installation of a garbage disposal, gather all the essential tools and materials to ensure a seamless and efficient process. The right preparation can save time and prevent complications, so it’s crucial to have everything in place before you begin.
You’ll need a quality garbage disposal unit, tailored to your kitchen needs. Make sure to choose a unit with the appropriate horsepower and features for your household. For sealing, plumber’s putty is indispensable to create a watertight connection between the sink and the disposal. A versatile screwdriver set is also essential for tightening or loosening screws during the installation process.
Other necessary items include a bucket or basin to catch any water spillage and a pair of pliers for gripping and twisting actions. Keep some electrical tape handy for any wiring tasks, and have a flashlight for better visibility under the sink. With these tools and materials ready, you’re well-prepared to upgrade your kitchen sink in under two hours.
Step-by-Step Guide to Safely Install Your Garbage Disposal Unit
Embarking on your garbage disposal installation is straightforward with the right guidance. Follow this detailed, step-by-step guide for a successful setup.
Start by removing the existing sink strainer. Unscrew the locknut underneath the sink to release the strainer, and clean the area thoroughly with a cloth to remove debris. This ensures a clean surface for installing the new unit.
Apply plumber’s putty around the edge of the replacement flange and position it over the sink opening. Press down firmly to create a secure seal. Underneath the sink, attach the mounting assembly and secure with screws, ensuring it holds the flange firmly in place.
Next, prepare the garbage disposal unit for installation. Follow the manufacturer’s instructions and align the unit with the mounting assembly. Rotate the disposal unit until it locks securely onto the assembly. Ensure it’s tightly fastened to prevent any movement during operation.
Connect the disposal to the power supply by wiring it according to the installation manual. Use electrical tape to safely secure any exposed wires, maintaining neat and professional wiring.
With the disposal unit connected, attach the discharge pipe to the water outlet at the bottom of the unit, ensuring a proper fit to prevent leaks. Once connected, turn the water back on and test the unit to verify functionality. With these steps completed, you’ve successfully installed your garbage disposal, enhancing your kitchen’s efficiency.
Troubleshooting Common Issues in DIY Garbage Disposal Installation: Ensuring a Smooth Sink Upgrade
Embarking on a DIY garbage disposal installation can be a rewarding and efficient way to upgrade your kitchen sink. However, even with the best guidance, challenges might arise during the process. Identifying common obstacles and knowing how to address them is crucial to ensuring a smooth and successful sink upgrade.
One frequent issue encountered is leaks. To prevent leaks, ensure that all connections are tight and seals are properly applied. Double-check that the rubber gasket and plumber’s putty are correctly positioned to create a watertight seal.
Clogs can also pose a problem, especially if debris accumulates during installation. Be sure to clear out any potential clog-causing materials before activating the unit. Using a flashlight can help you identify any obstructions within the disposal or drainpipe.
Wiring errors might prevent your garbage disposal from operating correctly. Before installation, confirm that the power supply is correctly connected and that all electrical components are in good condition. Always follow the manufacturer’s instructions for wiring to avoid hazards.
If the unit fails to turn on, an overlooked reset button could be the culprit. Locate the reset button at the bottom of the disposal unit, press it, and test the unit again. This simple step often resolves power-related issues with garbage disposals.
By addressing these common issues with practical solutions, you can prevent unnecessary delays and complications in your kitchen sink upgrade, ensuring your garbage disposal installation is as hassle-free as possible.
Frequently Asked Questions: DIY Garbage Disposal Installation
Do I need special plumbing skills to install a garbage disposal?
No, you can follow the step-by-step guide even as a beginner. Basic DIY skills are sufficient.
What tools are essential for this installation?
You’ll need a screwdriver, plumber’s putty, a wrench, and the garbage disposal unit.
How do I prevent leaks after installation?
Ensure all connections are tight and use plumber’s putty to seal joints effectively.
Can I install a garbage disposal on any kitchen sink?
Most sinks can accommodate a disposal, but ensure your plumbing setup is compatible.
What should I do if the disposal unit won’t start?
Check the power connection and make sure the reset button is pressed.


