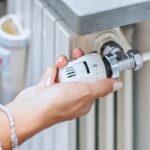
Facing a leaky drain can be frustrating and costly, but with the right skills and knowledge, you can tackle this issue yourself and save money. Whether you’re a seasoned DIY enthusiast or just starting, understanding how to replace a damaged drain pipe can equip you with valuable home maintenance skills. This guide delves into the practical essentials of drain pipe replacement, empowering you to take charge of this common household repair.
- Prepare with the right tools: Discover the essential equipment you need to successfully carry out a drain pipe replacement.
- Explore pipe options: Gain insights into different pipe materials, helping you to choose wisely based on your plumbing requirements.
- Step-by-step guidance: Follow detailed instructions that walk you through removing an old pipe and installing a new one effectively and efficiently.
By the end of this guide, you’ll have enhanced your DIY capabilities, ready to tackle other plumbing projects with newfound confidence. So why not share your experience and tips with fellow DIYers, and continue to learn and grow within the community?
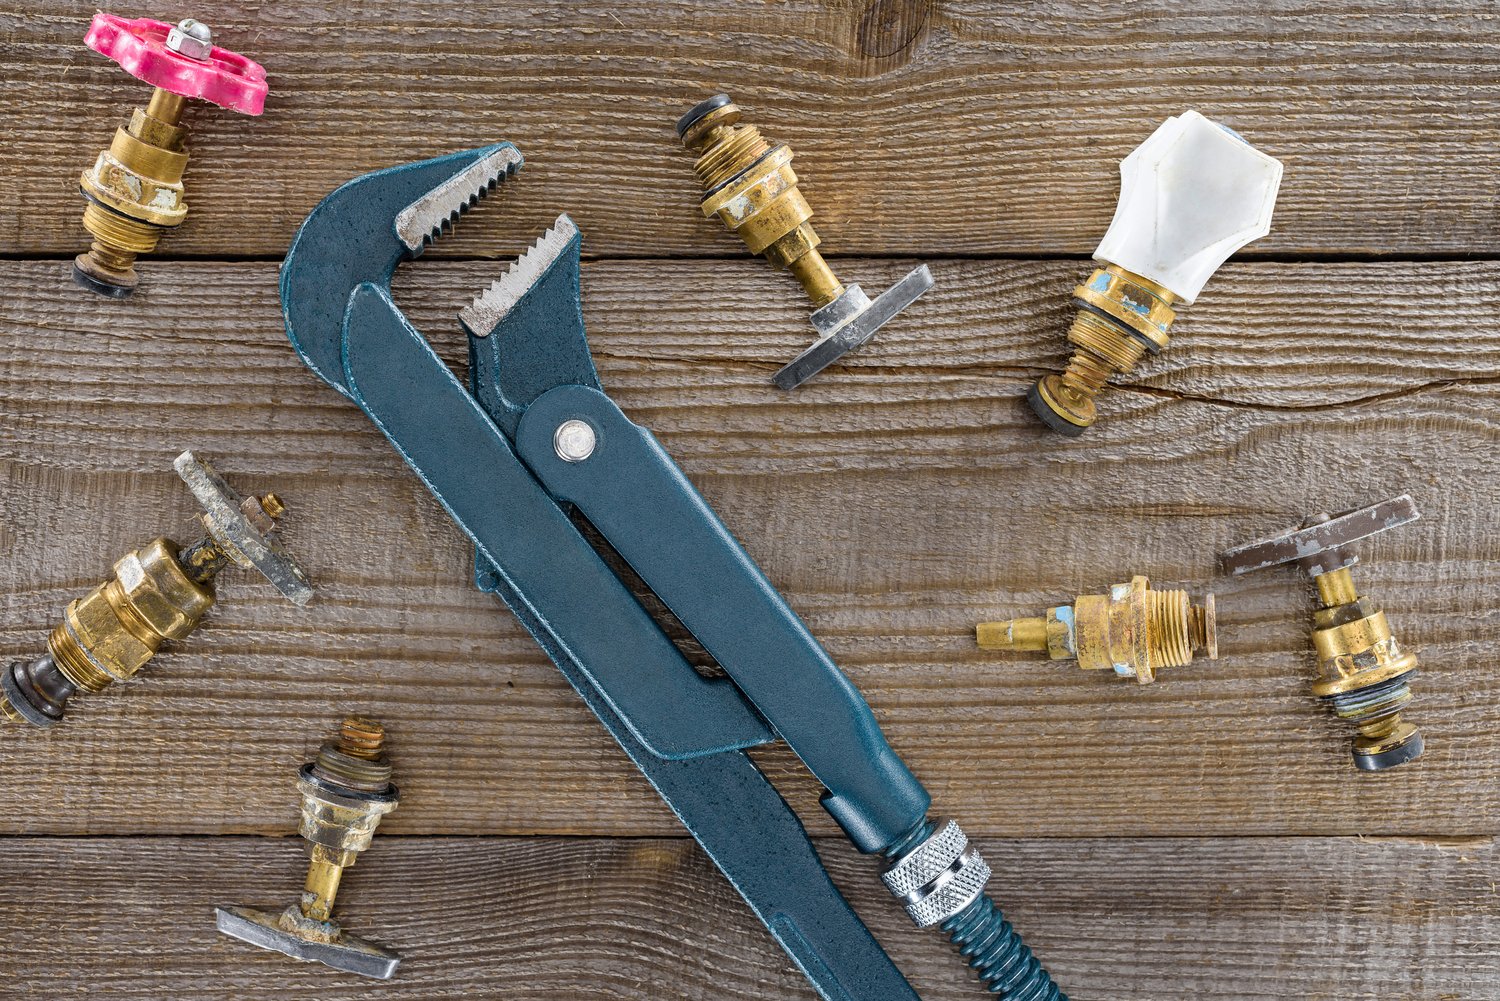
Essential Tools and Materials for DIY Drain Pipe Replacement: Step-by-Step Instructions for Fixing Damaged Plumbing
Embarking on a DIY drain pipe replacement project requires preparation and the right tools. This task begins with gathering equipment such as pipe cutters, ensuring precise cuts on your pipes, essential for a snug fit. Having a reliable set of wrenches is also crucial to secure pipe fittings and prevent leaks.
Choosing the correct replacement pipes is key to matching the existing plumbing infrastructure in your home. Additionally, having sealants or plumber’s tape at hand guarantees leak resistance after installation. Prioritize quality in your tools and materials to enhance the longevity and success of your DIY plumbing repair.
Understanding Different Types of Pipes
Familiarizing yourself with different types of pipes is an important step in ensuring you are well-prepared and knowledgeable about your home’s plumbing needs. PVC pipes are lightweight and ideal for low-cost drainage solutions, being resistant to rust and corrosion.
Copper pipes are popular for their durability and suitability for both hot and cold water supply. Although more expensive, their longevity justifies the price for many homeowners. Lastly, galvanized steel pipes are known for their robustness but suffer from corrosion over time. Consider the specific requirements of your home plumbing system when selecting the appropriate pipe type to ensure a successful DIY repair.
DIY Drain Pipe Replacement: Step-by-Step Instructions for Fixing Damaged Plumbing Process
Embarking on a DIY drain pipe replacement can be straightforward if you approach the task methodically. To ensure a leak-free result, it’s essential to adhere to these comprehensive steps. Whether you’re dealing with PVC, copper, or galvanized steel pipes, precision and patience are your best tools.
Step 1: Safety First
Before you begin, ensure all the water supply to the affected area is turned off. Use towels or containers to catch any residual water in the pipes that may spill when you detach them.
Step 2: Removing the Old Pipe
Begin by loosening the fittings and joints of the damaged drain pipe using appropriately-sized wrenches. Gently detach the pipe from its connections, taking care not to damage surrounding plumbing components. For particularly stubborn sections, consider using a pipe cutter for a clean separation.
Step 3: Preparing the Replacement Pipe
Select a replacement pipe that matches the material and dimensions of the old one. This is crucial for ensuring compatibility. Measure the length needed, then cut the new pipe to size, making sure the edges are smooth and free of burrs. These minor imperfections can compromise the integrity of the seals.
Step 4: Installing the New Pipe
Align the new pipe with existing plumbing, ensuring the fit is snug and well-supported. Securely tighten all fittings and joints but avoid over-tightening, which can lead to cracks or damage. If required, use plumbers’ tape to enhance the seal, especially when working with threaded connections.
Step 5: Testing the Installation
Once the new pipe is installed, it’s time to restore the water supply. Gradually turn the water back on and inspect your work for leaks. Should you spot any drips or moisture, tighten any loose connections or reapply sealant as needed.
With these steps, you’ve not only completed a DIY drain pipe replacement but have also safeguarded your plumbing system from further issues. Remember that prevention is key, so periodically inspect your plumbing for any signs of wear or trouble. Share your successful repair experiences with fellow DIY enthusiasts to bolster the community and exchange creative ideas.
Frequently Asked Questions: DIY Drain Pipe Replacement
What tools do I need for a drain pipe replacement?
- Pipe cutters
- Wrenches
- Replacement pipes
Can I use any type of pipe for replacement?
No, choose based on your specific needs such as PVC, copper, or galvanized steel.
Is it difficult to replace a drain pipe myself?
With proper guidance and tools, a DIY replacement is manageable for most homeowners.
How do I know if my drain pipe needs replacement?
Look for leaks, consistent clogs, or visible corrosion as indicators for replacement.
How long does it take to replace a drain pipe?
Typically, it takes a few hours depending on the complexity of your plumbing.