Embarking on a kitchen renovation can be both exciting and daunting, particularly when it comes to updating plumbing without sacrificing the integrity of your beloved cabinets. If you’ve been postponing this crucial task out of concern for expensive cabinet damage, you’re not alone. There’s a way to refresh your kitchen plumbing system seamlessly while maintaining the beauty of your cabinetry.
- Understand the role of each plumbing component: Familiarize yourself with pipes, connectors, and tools to streamline the replacement process without cabinet damage.
- Spot outdated or corroded pipes: Learn techniques to identify problem areas with ease and replace them efficiently.
- Execute a careful update: Follow a step-by-step guide designed to avoid cabinet mishaps during your plumbing overhaul.
- Opt for robust materials: Choose the right materials that promise longevity, reducing the need for frequent repairs and ensuring a functional kitchen for years to come.
In this article, you’ll discover how to confidently tackle plumbing updates, safeguard your cabinetry, and choose materials that enhance both the functionality and aesthetics of your kitchen. Dive in and empower your kitchen renovation journey.
Understanding Plumbing Components for How to Replace Kitchen Sink Plumbing: Update Old Pipes Without Damaging Cabinets
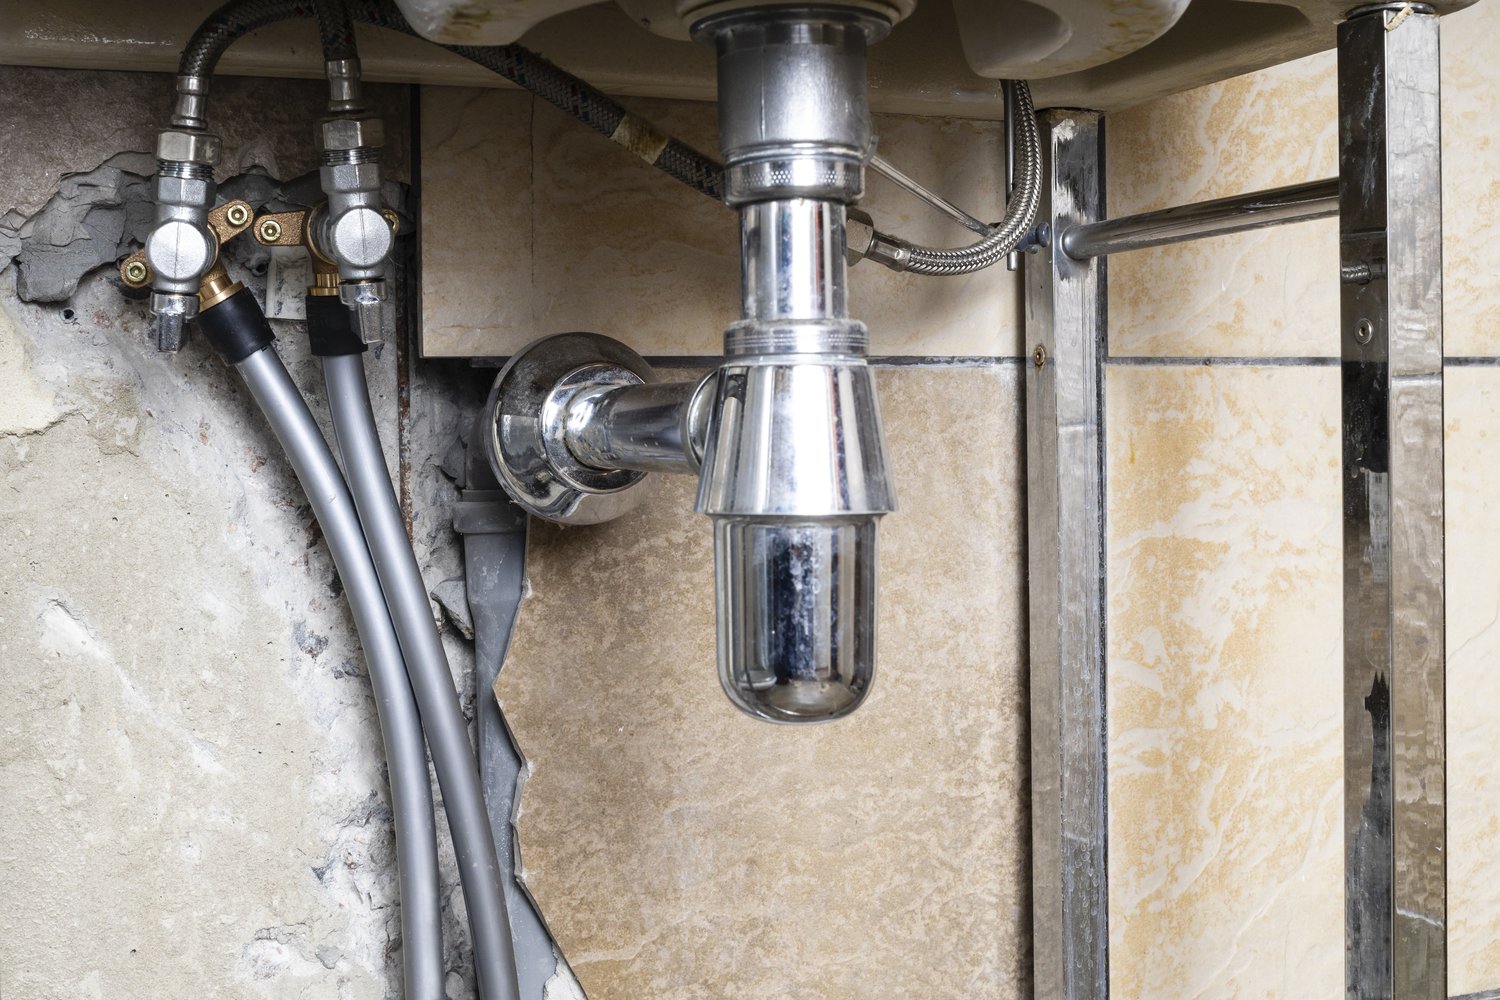
Before diving into the replacement process, it’s essential to familiarize yourself with the various plumbing components under your kitchen sink. This involves identifying key parts such as drain pipes, water supply lines, and connectors that make up your plumbing system.
Properly understanding these components will enable you to update your kitchen sink plumbing efficiently and without inadvertently damaging your cabinets. It is also crucial to have the necessary tools ready, including wrenches, pipe cutters, and sealant tape, to facilitate a smooth replacement process.
Familiarity with these elements will not only ease the task but also empower you to enhance your kitchen’s plumbing with confidence. This foundation is key to successfully managing your kitchen plumbing renovation while preserving the integrity of your cabinetry.
Identifying Old Pipes That Need Replacement
The first step in updating kitchen sink plumbing is identifying old pipes that require replacement. Outdated or corroded pipes can lead to leaks and inefficiencies in your system, so it’s vital to address them promptly.
To inspect your plumbing setup without removing cabinetry, rely on visual clues. Look for signs of rust, discoloration, or dampness around pipe joints and connections. These indicators often point to compromised pipes that may need replacement.
Use simple techniques such as running your hand along the pipes to feel for rough or uneven surfaces, which could indicate corrosion. By carefully assessing your plumbing, you can ensure a targeted approach to replacement, preserving your cabinets while enhancing functionality.
Step-by-Step Guide on How to Replace Kitchen Sink Plumbing: Update Old Pipes Without Damaging Cabinets
Undertaking the task of replacing kitchen sink plumbing can seem daunting, but with these well-structured steps, you can manage the update with ease and precision. The key is in preparation, understanding your space, and using the right tools.
First, turn off the water supply. Locate the valves under your sink and twist them clockwise until securely closed. This will prevent any unwelcome water spills and prepare your workspace.
Next, disconnect old pipes. Carefully loosen the slip nuts found on the drainpipes with an adjustable wrench. Be sure to have a bucket or container on hand to catch any residual water that may drain out during this step.
Once the pipes are disconnected, remove the old plumbing components. Gently maneuver out the old pipes, taking note of their setup for easier installation of new ones. This will help in maintaining the original design or making informed choices for any modifications.
When installing new plumbing, carefully measure and cut pipes to ensure a perfect fit. Check that the replacement pipes align with the existing plumbing setup to avoid unnecessary adjustments. Ensure they fit securely onto your sink and other fixtures.
Finally, tighten connections. Reconnect all fittings and make sure each slip nut is secured tightly. It’s essential to avoid over-tightening as this can lead to cracks or leaks. Once completed, gradually turn the water supply back on, ensure everything is leak-free, and enjoy the satisfaction of a job well done.
Best Practices and Tips for Protecting Cabinets During How to Replace Kitchen Sink Plumbing: Update Old Pipes Without Damaging Cabinets
To safeguard your kitchen cabinets during plumbing updates, protection is key. Begin by using protective coverings such as plastic sheets or drop cloths. Place these materials over your cabinets and on the floor to catch debris and water, thus preventing damage.
Work with care in confined spaces; avoid using excessive force when detaching or reattaching pipes. Use minimal invasive techniques, such as opting for compact tools designed for tight areas, which facilitate smoother movements without knocking into cabinet structures.
Avoiding clutter is crucial. Maintain an organized workspace to prevent accidental scratches and bumps that could harm your cabinetry. Arrange your tools and materials systematically, clearing any obstacles that might hinder swift action.
Inspect your surroundings before and after the replacement process. Checking your cabinets for any pre-existing conditions ensures that you can differentiate between new and old wear-and-tear and attend promptly to any issues that arise.
Implement these strategies to protect your cabinets while adeptly managing your kitchen plumbing project. Your careful approach will ensure both efficiency and preservation of your kitchen’s aesthetic and functional integrity.
Selecting the Right Materials for Long-lasting Results
When replacing kitchen sink plumbing, the choice of materials plays a crucial role in ensuring durability and efficiency. By opting for high-quality, corrosion-resistant pipes, you can significantly extend the life of your plumbing system and reduce the risk of leaks or breaks.
Stainless steel pipes and fittings are a popular choice due to their strength and resilience. This material is known for its resistance to rust, making it an excellent option for kitchen environments where moisture is prevalent.
PVC pipes are another reliable alternative. They are not only cost-effective but also easy to work with, making them ideal for DIY enthusiasts or those new to plumbing installations. Keep in mind that for kitchen sink drainage, PVC offers efficient water flow and is resistant to most common forms of corrosion.
When selecting fixtures, consider those that are crafted from high-quality metals or synthetic materials designed to resist wear and tear. Brass fixtures, for instance, provide excellent durability and a classic appearance, while newer options like PEX (cross-linked polyethylene) offer flexibility and resistance to scale and chlorine.
Ensuring that you choose the right materials does not only enhance the performance of your kitchen plumbing but also helps to maintain an aesthetically pleasing finish. Aim to select materials that will seamlessly integrate with your kitchen design, and remember to factor in future maintenance and repairs, preventing unnecessary disruptions down the line.
By investing in the best materials available, you safeguard your kitchen from frequent plumbing issues, making these updates both a functional and aesthetic improvement to your home.
Frequently Asked Questions About Kitchen Sink Plumbing Replacement
What tools do I need to replace kitchen sink plumbing?
- Wrench: Essential for loosening and tightening connections.
- Plumber’s tape: Ensures watertight seals.
- Bucket: For catching any water spills during the process.
- Screwdriver: Helpful for removing any fasteners.
How can I tell if a pipe needs replacing?
Look for corrosion, visible leaks, or any cracks and discoloration on the pipes.
Are there ways to protect cabinets during plumbing updates?
Use protective coverings like plastic sheets and minimize movement near the cabinet edges.
What materials are best for plumbing under the sink?
Choose corrosion-resistant pipes, such as PEX or PVC, for durability and reliability.
Is it necessary to replace all pipes under the sink?
No, only replace outdated or damaged pipes.