Water pooling under your kitchen sink can be a nightmare, threatening the integrity of your cabinetry and flooring. Ensuring a well-installed sink basket strainer is critical in maintaining the dryness and functionality of your kitchen. This article will guide you through the seamless installation process, so you’re not left dealing with leaks and costly repairs.
- Discover reliable methods to install sink basket strainers that effectively prevent under-counter leaks.
- Familiarize yourself with the essential tools and materials needed for a successful installation.
- Learn how to sidestep common installation mistakes that often lead to persistent leaks.
By diving into this comprehensive guide, you’ll be equipped with the knowledge to protect your kitchen from water damage and ensure your sink functions perfectly. Let’s explore installation techniques that promise a leak-free setup!
Reliable Methods for Sink Basket Strainer Installation to Prevent Under-Counter Leaks
Achieving a leak-proof sink basket strainer installation is crucial to maintaining a dry and safe kitchen environment. Though it might seem a straightforward task, applying the right techniques ensures a long-lasting seal free from under-counter leaks.
The first method involves thoroughly cleaning the sink’s drain hole. It’s essential to remove any old putty or debris that might hinder a proper seal. This step lays the foundation for a firm and leak-resistant installation.
Another effective approach is using high-quality plumber’s putty. Carefully roll it into a rope shape and apply it evenly around the lip of the strainer. When the strainer is tightened, the putty will create a watertight barrier, filling any gaps that might allow water to seep through.
For those preferring a more modern solution, silicone sealant is a reliable alternative. It not only forms a robust seal but also offers flexibility to account for any movement or expansion in the fixtures.
Ensuring that the locking ring is correctly and tightly secured is also critical. This can prevent the strainer from loosening over time, which can cause leaks. Use a wrench for extra tightness, avoiding over-tightening as it could damage components.
Combining these methods effectively will keep your kitchen’s cabinetry and flooring safe from water damage, providing you peace of mind in your daily kitchen activities.
Essential Tools and Materials for Installing Sink Basket Strainers
Before embarking on your sink basket strainer installation, equipping yourself with the right tools and materials is a pivotal step that can determine the success of the project.
A ubiquitous tool in this task is plumber’s putty. Not only is it easy to work with, but it also provides a time-tested seal that proves effective in a variety of kitchen settings. For those opting for a contemporary touch, silicone sealant serves as an excellent substitute, offering durability and water resistance.
In terms of tools, a strap wrench or standard wrench is invaluable. It assists in snugly tightening the various fittings and components, preventing potential leaks due to loose installations.
Furthermore, having a putty knife on-hand is beneficial for both applying putty and cleaning off any excess material around the drain area. This ensures a neat and clean finish.
Additionally, plumbers tape should not be overlooked. It can be applied to the threads of connections for extra security and leak protection.
By assembling these essential tools and materials before you begin, you set yourself up for a streamlined installation process that leads to a steadfast, watertight sink basket strainer.
Avoiding Common Mistakes in Sink Basket Strainer Installation: Key to Preventing Under-Counter Leaks
Proper sink basket strainer installation is essential in preventing under-counter leaks that can damage cabinetry and flooring. One of the most prevalent mistakes is not applying an adequate amount of plumber’s putty or using the wrong type of sealant. Ensuring that the strainer is evenly covered with putty creates a watertight seal, reducing the risk of leaks.
Another common issue arises when the sink basket strainer is not aligned correctly with the sink hole. Misalignment can lead to uneven pressure on the seal. Take care to center the strainer properly and tighten it adequately, but avoid overtightening which could crack the sink material.
It’s also crucial to clean and dry the surfaces before applying the putty or sealant. Dirt or moisture can interfere with sealant adhesion, increasing the chances of leaks. Regular maintenance checks to ensure the integrity of the seal can prolong the life of your kitchen fixtures.
By focusing on these common installation pitfalls, you can significantly reduce the risk of under-counter leaks. A careful approach during the initial installation phase will deliver long-term benefits, keeping your kitchen dry and operational while safeguarding against costly repairs.
Frequently Asked Questions About Sink Basket Strainer Installation
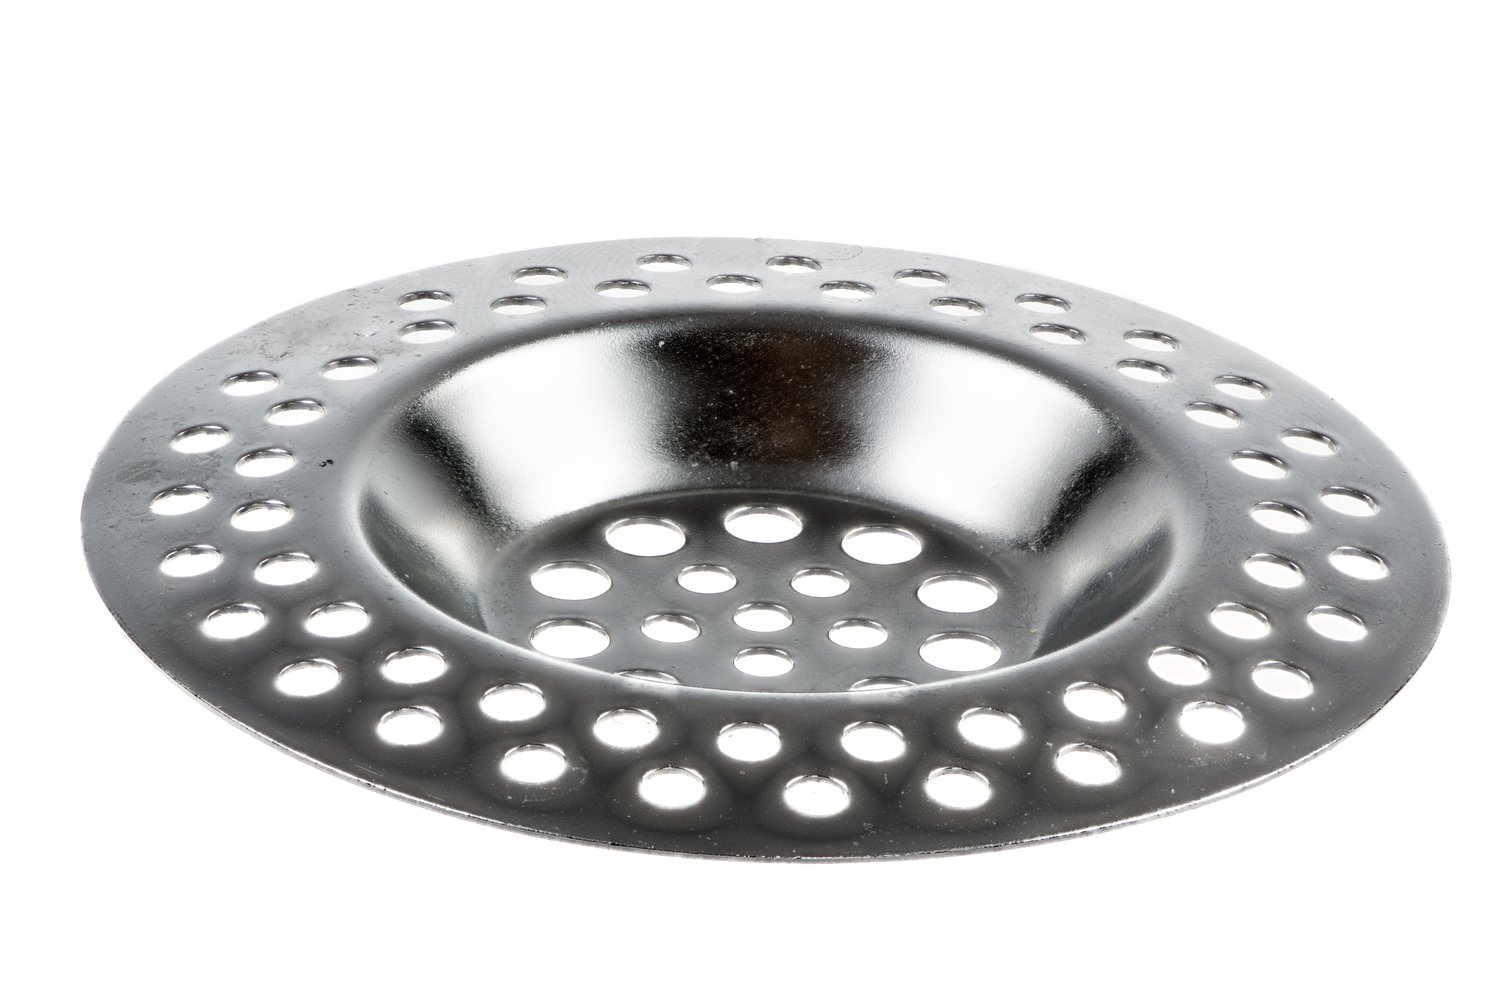
What is a sink basket strainer?
A sink basket strainer is a device that fits into the drain of your sink to catch food and debris, preventing clogs while allowing water to pass through.
Why is proper installation important?
Proper installation is crucial to prevent leaks and ensure that the strainer functions correctly, protecting your cabinetry and floors from water damage.
What tools are needed for installation?
- Plumber’s putty
- Basin wrench
- Adjustable pliers
- Screwdriver
Can I install a sink basket strainer myself?
Yes, with the right tools and instructions, a DIY installation is possible.
How do I prevent leaks during installation?
Ensure all connections are tight, use plumber’s putty for sealing, and avoid over-tightening which can crack components.
What should I do if a leak occurs after installation?
Check connections for tightness, apply more plumber’s putty if needed, and ensure all components are correctly aligned.