Is your toilet swaying like a pendulum or leaking water onto your bathroom floor? These seemingly minor annoyances can lead to greater structural problems if not addressed promptly. Understanding how to fix common toilet flange issues, such as rocking and seal failures, can save you time, money, and frustration while maintaining the overall hygiene of your bathroom.
- Discover the root causes of a rocking toilet and failed seals, including improper installation and worn-out components.
- Learn about the essential tools and materials needed for effective flange repairs, ensuring you have everything on hand before starting a project.
- Follow a detailed, step-by-step guide to confidently repair or replace problematic toilet flanges, with a focus on safety and efficiency.
By the end of this article, you’ll be equipped with the knowledge to tackle these common plumbing concerns head-on. Regular maintenance and inspection can prevent future issues, ensuring your toilet remains secure and leak-free for years to come.
Determining the Cause of Toilet Flange Issues: Rocking and Seal Failures Explained
Toilets that rock or suffer from seal failures can be a significant bother, compromising both comfort and hygiene.
Understanding the root causes of these toilet flange issues is essential to implementing effective repair solutions.
One common culprit behind a rocking toilet is improper installation.
If the toilet flange is not securely anchored to the subfloor, any movement can lead to loosening over time.
It’s crucial to ensure that the flange is bolted tightly to the floor to minimize movement.
Worn-out components also play a critical role in these problems.
Over time, the material of the wax seal can degrade, causing leaks or rocking.
Regular inspections can help detect wear and tear before they lead to significant issues.
Lastly, structural flooring issues might be to blame.
If the subfloor has suffered water damage or is uneven, it can affect how well the toilet flange stays in place.
Ensuring that the flooring is solid and level is crucial for maintaining a stable toilet.
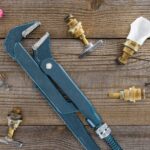
Proper Tools and Materials for Effective Toilet Flange Repair
Undertaking a toilet flange repair requires the right tools and materials to ensure a durable and successful outcome.
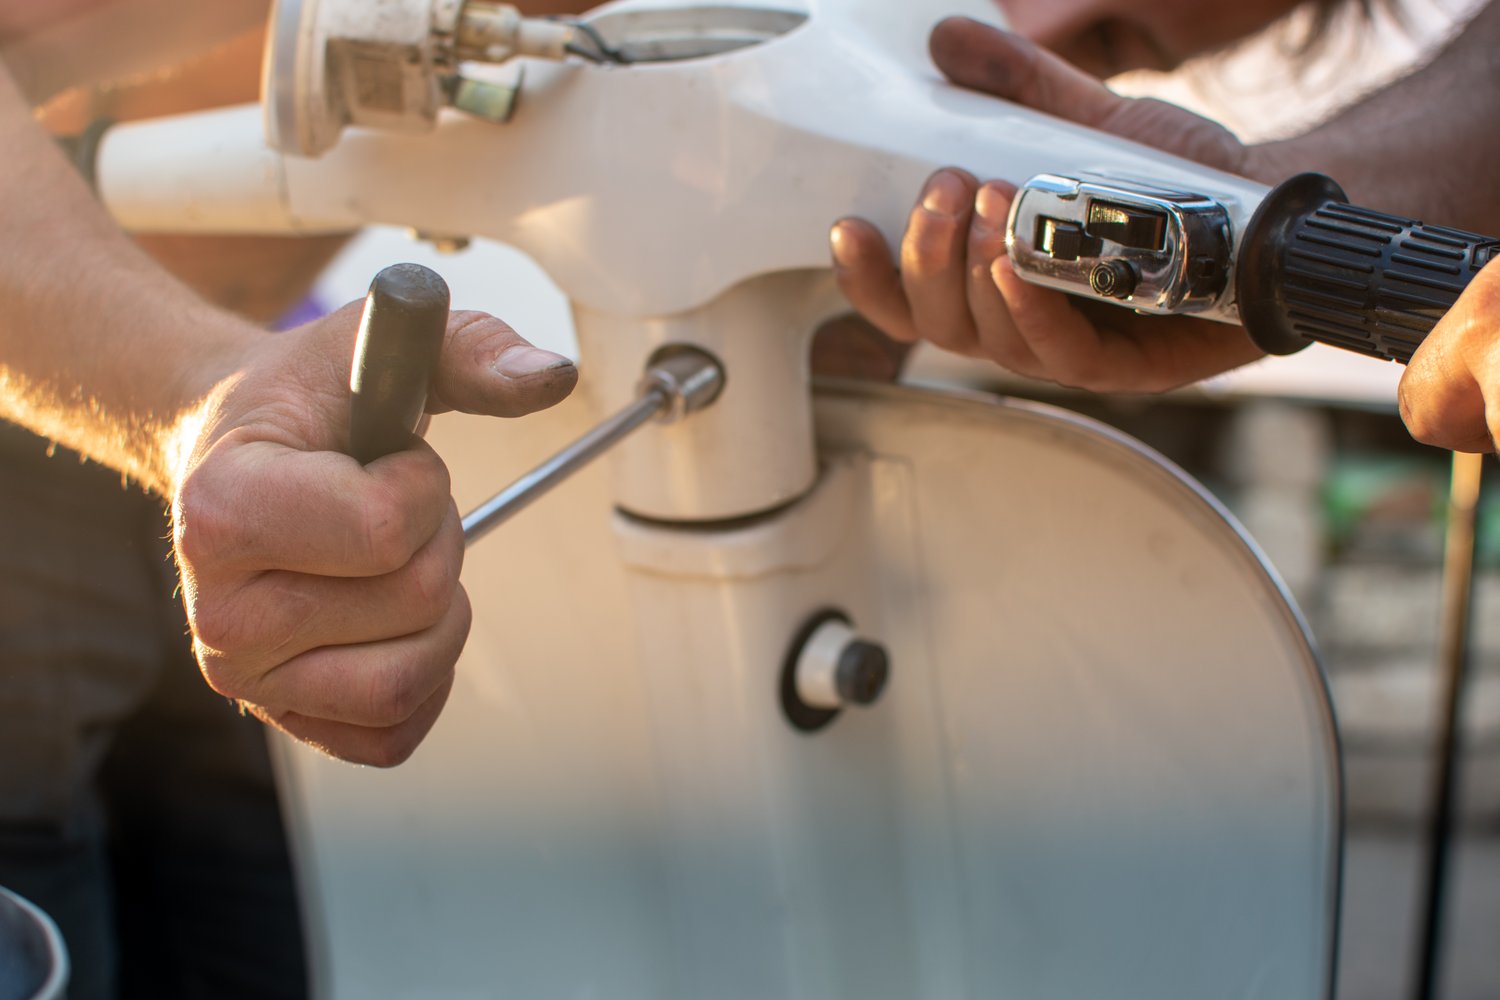
An adjustable wrench is essential for loosening and tightening bolts and nuts securely.
Having one on hand will make it easier to safely remove and reattach the toilet.
For repairing or replacing the flange, keep a replacement flange ready.
Many types are available, from PVC to cast iron, and it’s important to select the right material that matches your existing setup.
Using sealant ensures that the new flange fits tightly and prevents any leaks.
A silicone-based sealer can be an excellent choice for creating a watertight barrier.
Don’t forget safety equipment.
Wearing gloves can protect your hands from germs, while safety glasses will protect your eyes from any dust or debris during the repair process.
By equipping yourself with these essential tools and materials, you’ll be well-prepared to tackle any flange repair work, ensuring your toilet remains stable and leak-free.
Step-by-Step Guide to Toilet Flange Repair: Fix Rocking and Seal Failures Effectively
Repairing or replacing a toilet flange is essential to resolve common problems like rocking toilets and seal failures. These issues not only affect the comfort and functionality of your bathroom but can also lead to more significant damage if left unaddressed. This guide outlines the steps necessary to fix these issues efficiently and safely.
Before you begin, gather all necessary tools and materials, ensuring you have items such as an adjustable wrench, a putty knife, replacement flange, wax ring, sealant, and safety goggles. Ensuring the right equipment will make the process smoother and more effective.
Step 1: Prepare the Work Area
Begin by turning off the water supply to the toilet. Flush the toilet to remove as much water as possible. Use a sponge or towel to soak up any remaining water in the bowl and tank. This step is crucial to prevent spills and to work in a dry environment, making the repair more hygienic and manageable.
Step 2: Remove the Toilet
Unscrew the nuts from the toilet bolts using an adjustable wrench. Carefully lift the toilet straight up to avoid damage to any pipes or sealant. It’s advisable to have a helper for this step as toilets can be heavy and awkward to maneuver. Place the toilet on a towel or cardboard to prevent floor scratches and residue.
Step 3: Assess and Clean the Flange Area
Once the toilet is removed, inspect the toilet flange. Look for cracks, corrosion, or improper installation that might have caused the rocking or seal failure. If needed, use a putty knife to scrape off the old wax ring and any debris. A clean surface is vital for a secure and effective replacement.
Step 4: Replace or Repair the Toilet Flange
If the flange is damaged, remove it by unscrewing it from the floor. Install a new flange or repair it using a flange repair kit if the damage isn’t severe. Make sure the new flange sits flush with the floor to prevent future rocking. This ensures a robust and stable connection between the toilet and the drain pipe.
Step 5: Install a New Wax Ring and Reattach the Toilet
Position a new wax ring onto the flange. Carefully lower the toilet onto the flange, aligning the bolts with the holes in the base of the toilet. Press down firmly to create a tight seal. Secure the toilet by tightening the nuts onto the bolts, but be cautious not to over-tighten, as this can crack the porcelain.
Finally, turn the water supply back on and flush the toilet several times to ensure everything is functioning correctly. Check for any leaks around the base to verify a successful installation.
Following these steps can help you adeptly address toilet flange problems, enhancing the longevity and hygiene of your bathroom. Regular maintenance and inspections can help avoid recurrence, keeping your toilet functioning as intended.
Common Questions About Toilet Flange Repair
What causes a toilet to rock?
Improper installation or a worn-out flange are common causes of a rocking toilet.
How do I know if the flange seal has failed?
Check for leaks around the base of the toilet or water damage on the flooring.
What tools are essential for toilet flange repair?
- Adjustable wrenches
- Replacement flange
- Sealant
- Safety equipment
Can I repair a toilet flange myself?
Yes, with the right tools and step-by-step instructions, DIY repair is possible.
How often should I inspect my toilet flange?
Regular inspections every 6 to 12 months can help identify potential issues early.