Tackling leaks in PVC pipe joints can be a daunting task for homeowners, but did you know you can fix these pesky problems without the need for a full pipe replacement? This guide unveils practical and efficient methods to repair PVC joints, saving you time and money while maintaining the integrity of your plumbing system.
- Discover how to quickly identify the signs of leaks, preventing further water damage.
- Equip yourself with the essential tools and materials needed for effective repairs.
- Follow a clear, step-by-step process to secure a leak-free PVC joint without replacing the entire pipe.
By mastering these repair techniques, you’ll not only enhance the durability of your plumbing system but also gain the satisfaction of a DIY fix. So dive into the article to learn all you need for a successful PVC pipe joint repair, and ensure your home remains safe and dry.
Identifying Problems: Addressing PVC Pipe Joint Leaks Without Full Replacement
PVC pipe leaks are an all-too-common issue in modern plumbing systems, but identifying the source without opting for a full replacement can save both time and resources. Understanding where to look for leaks is the first step. Common indicators of a leak include unexplained water stains on walls or floors and unexpected decreases in water pressure.
It’s crucial to systematically inspect all visible sections of PVC piping. Be attentive to any areas facing direct pressure or movement, as they are prone to leakage. Once you identify potential problem areas, evaluating the severity of the issue becomes key. Assess whether the leak is minor, possibly a small drip, or whether it’s causing significant water loss. By pinpointing the precise location and understanding the leak’s nature, you’ll be better prepared to address the problem effectively.
Tools and Materials Needed for Effective PVC Pipe Joint Repair
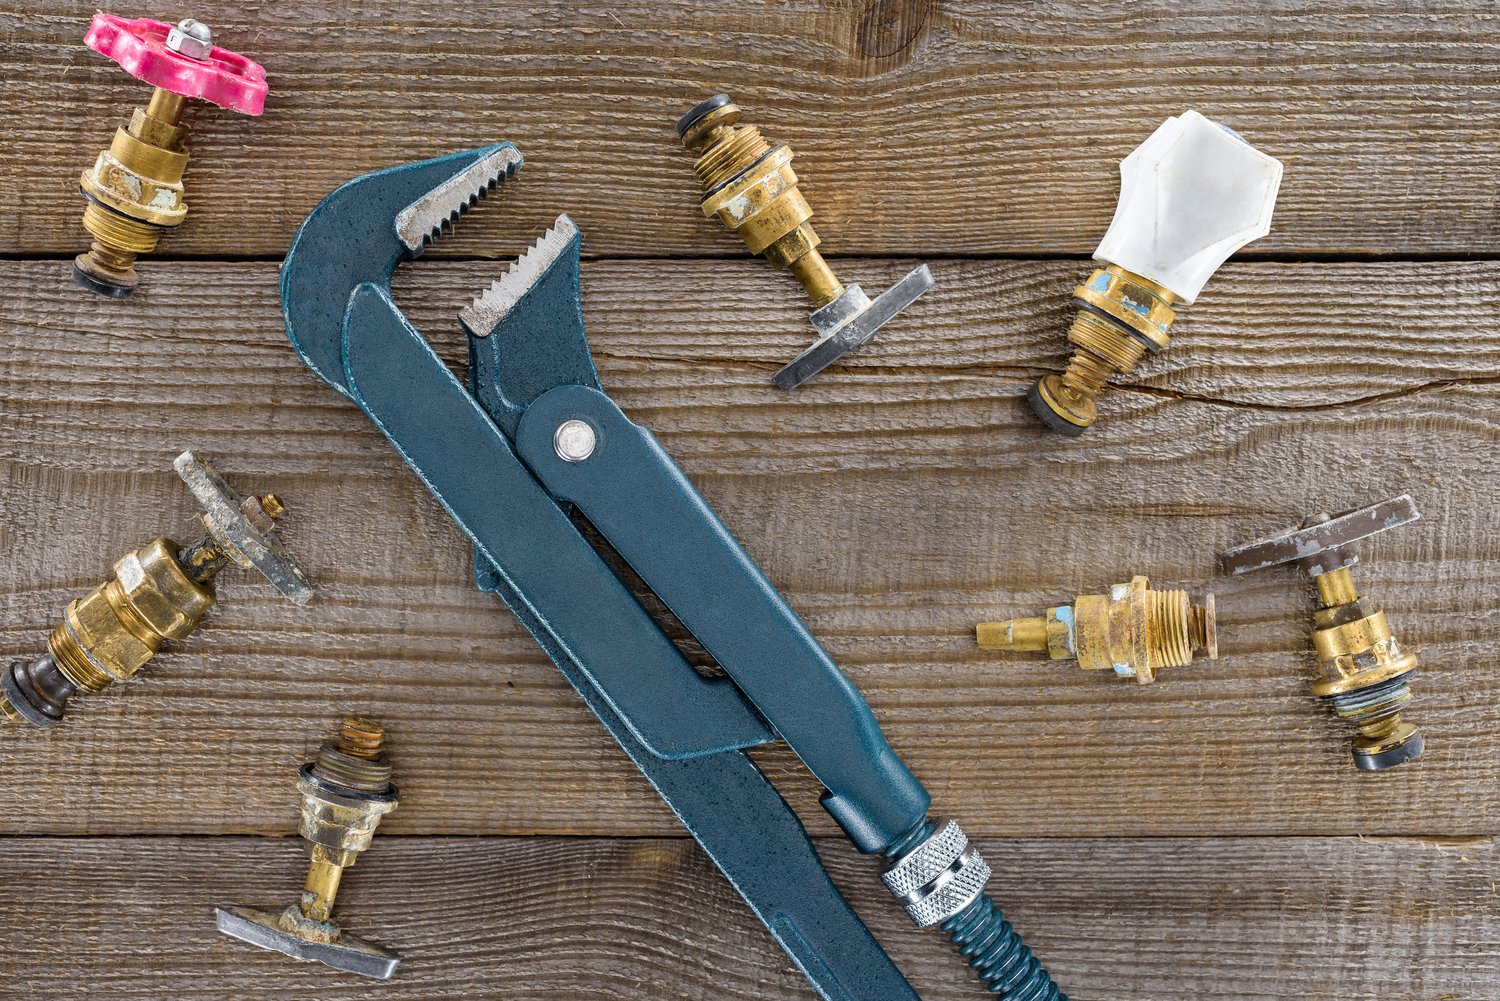
Repairing a PVC pipe joint efficiently requires the right set of tools and materials. Preparation is half the battle in ensuring a leak-free pipe. Essential tools include a pipe cutter for precise cuts, as well as a durable PVC primer and cement to secure the repair.
Using high-quality PVC primer helps condition the pipe’s surface, enhancing the bond with the cement. Repair couplings are invaluable, serving as connectors to replace damaged sections without replacing the entire pipe. These materials guarantee a stable and lasting connection, ultimately reinforcing the integrity of the plumbing system. By gathering these tools, you’re setting the stage for a successful and hassle-free repair process.
DIY Instructions: Step-by-Step PVC Pipe Joint Repair Without Complete Replacement
Repairing PVC pipe joints can be a straightforward task when approached methodically. With the right tools and techniques, you can fix leaks efficiently without the need for a full pipe replacement. This not only saves time but also reduces expenses.
Begin by preparing the pipe surfaces. Start by turning off the water supply to ensure no water flows through the pipes during the repair process. Carefully inspect the leaking joint and clean off any dirt or residue. Use a clean, dry cloth to wipe away moisture, leaving the area completely dry and ready for repair work.
The next step involves the crucial process of applying PVC primer and cement. These two substances are essential for creating a secure, leak-free connection. First, apply PVC primer around the joint area, making sure to cover both the pipe end and the inside of the fitting. The primer cleans and softens the surfaces, allowing the cement to form a strong bond.
Immediately after priming, apply a generous layer of PVC cement to the same areas. Ensure an even coating for optimal adhesion. Quickly and confidently, push the pipe and fitting together, giving them a slight twist to help spread the cement evenly across the joint.
Once secured, hold the joint in place for several seconds to allow the cement to set and bond the pieces together. Proper curing is essential for long-term integrity, so consult the cement manufacturer’s instructions for specific curing times.
After the joint has suitably cured, it’s time to check the repaired joint for any leaks. Restore the water supply and observe the previously leaking area. If you’ve followed these steps carefully, the connection should now be secure and leak-free.
By mastering these DIY PVC pipe joint repair techniques, you can confidently address leaks without needing to replace entire sections of piping. This skill not only enhances the durability of your plumbing system but also contributes to cost savings and operational efficiency. Feel free to share your experiences and tips for further community learning.
PVC Pipe Joint Repair FAQs
What are common signs of a PVC pipe joint leak?
- Water stains: Look for unexplained damp spots on walls or ceilings.
- Decreased water pressure: A sudden drop can indicate a leak.
What tools are essential for repairing a PVC pipe joint?
- PVC primer and cement: These are critical for sealing the joint.
- Pipe cutters: Needed to cut and prepare the pipe accurately.
- Repair couplings: Useful for connecting pipes securely.
Can I repair a PVC pipe joint without replacing the entire pipe?
Yes, by identifying the problem early, using the right tools, and following a step-by-step repair process, you can fix leaks without replacing the full pipe.
How do I prepare the PVC pipe surface before repair?
Clean the surface thoroughly, ensuring it’s dry and free from debris. Use PVC primer to prepare the area.
Is professional help necessary for all PVC pipe leaks?
Not always. Simple leaks at joints can often be handled by DIY enthusiasts using the right techniques and materials.

