The integrity of your bathroom’s waterproofing can mean the difference between a long-lasting, leak-free space and costly repairs. Mastering the art of shower pan liner installation is crucial in protecting your home from water damage while enhancing the lifespan of your bathroom. This article uncovers what you need to know to succeed in this essential task.
- Understand the crucial role shower pan liners play in waterproofing and how they prevent bathroom leaks.
- Discover the essential materials and tools required for a successful shower pan liner installation.
- Follow a comprehensive step-by-step guide focused on waterproofing and a precise shower pan liner fit.
- Learn about common installation mistakes to avoid, ensuring optimal waterproofing and reducing future repair costs.
- Gain tips on maintaining your bathroom’s waterproofing integrity long after the installation is complete.
By exploring the detailed insights in this article, you’ll be equipped with the knowledge to execute a professional-grade shower pan liner installation, ensuring that your bathroom remains a durable sanctuary, free from leaks and water damage.
Understanding the Role of Shower Pan Liner Installation in Waterproofing Best Practices
The proper installation of a shower pan liner plays a critical role in the successful waterproofing of your bathroom space. With the bathroom often being one of the most utilized areas in a home, ensuring it is free from leaks is essential. A shower pan liner acts as a crucial barrier between your shower floor and the subfloor, effectively preventing water from seeping through and causing damage.
Without an effective shower pan liner, water can leak into the underlying structures, leading to mold growth, structural deterioration, and costly repairs. By incorporating waterproofing best practices during installation, you can significantly reduce the risk of such issues. This not only preserves the integrity of the shower but also enhances the durability and functionality of your bathroom environment.
Installing a shower pan liner requires precision and attention to detail, making it a fundamental aspect of waterproofing. It is important to choose high-quality materials that offer robust protection against water infiltration, ensuring the longevity of your bathroom surfaces. Proper installation techniques are equally vital, as even a minor oversight can compromise the entire waterproofing system.
Materials Needed for a Successful Shower Pan Liner Installation
When preparing for a shower pan liner installation, having the right materials and tools on hand is paramount to achieving a watertight seal. The quality and selection of materials can significantly impact the effectiveness of the waterproofing process.
Firstly, select a durable shower pan liner, typically made from PVC or CPE, which are known for their water-resistant properties. Additionally, a pre-slope mortar bed is essential for directing water towards the drain efficiently.
Complementing the shower pan liner, specialized waterproofing membranes should be used to reinforce the waterproof barrier. This may include products like waterproofing tape and corner dams, designed to cover joints and edges, preventing any potential vulnerability to leaks.
Essential tools for installation include a utility knife for cutting materials to size, a roller to ensure smooth application, and a caulk gun for securing seams. Being equipped with these tools not only facilitates a seamless installation but also helps maintain the waterproofing integrity of your project.
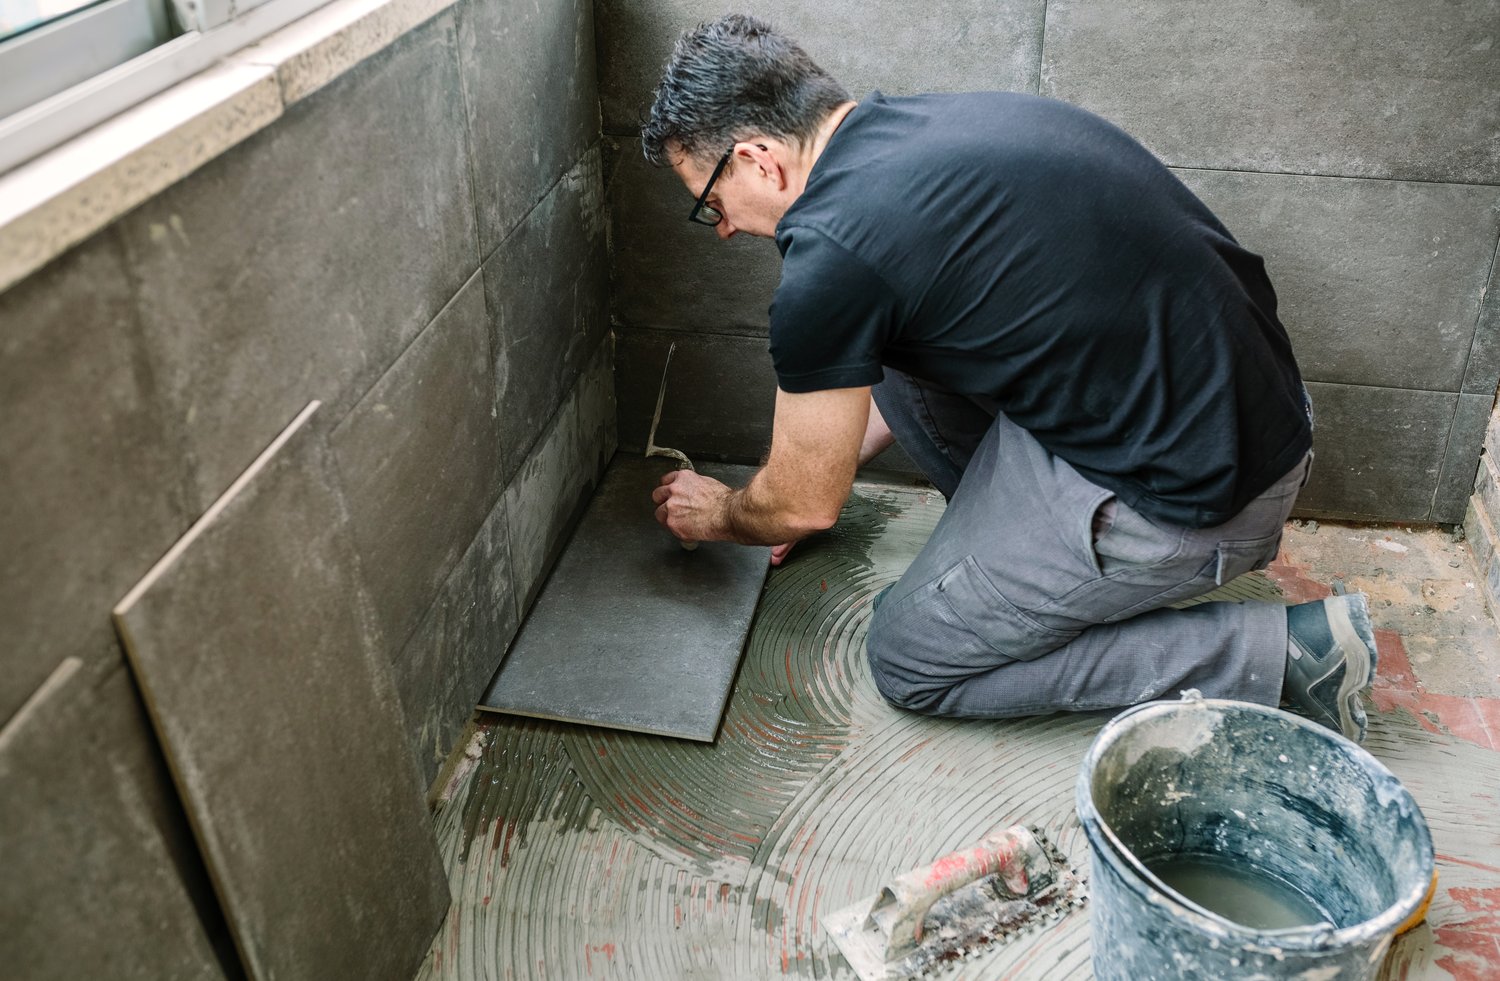
Step-by-Step Guide to Shower Pan Liner Installation: Waterproofing Best Practices
Installing a shower pan liner is a crucial step in creating a waterproof bathroom environment. Following these best practices ensures a snug and effective fit, preventing leaks. Begin by gathering all necessary materials, including a high-quality shower membrane and compatible adhesive.
Start with a clean and dry shower base. Ensure there are no sharp objects or debris that could puncture the liner. Cut the liner to fit your shower space, leaving enough material to extend a few inches up the walls. This extra material acts as a secondary barrier against water infiltration.
Next, place the shower liner over the base, ensuring it fits neatly with no folds. Secure it by pressing down firmly and smoothing it out. Pay attention to corners as these are potential leak points. Use precision tools to cut holes for drain openings, preserving the integrity of the membrane.
Seal the liner using waterproof tape or adhesive specifically designed for the job. This step is critical to prevent water seepage. Test the seal by pouring a small amount of water onto the liner. Check for any leaks or weak spots.
Finish by installing the top layer of tiles or shower flooring. Follow manufacturer instructions for the best outcome. Proper alignment ensures the longevity and effectiveness of your waterproofing efforts.
Common Mistakes to Avoid During Shower Pan Liner Installation for Optimal Waterproofing
Even minor missteps during shower pan liner installation can lead to significant water damage over time. Avoid these common pitfalls to ensure a perfect finish.
One frequent error is neglecting to prepare the shower base adequately. Dirt or uneven surfaces can compromise the liner’s adherence. Always start with a pristine and level base.
Improperly cutting the liner is another prevalent issue. Not allowing enough overlap on the walls or making inaccurate cuts for drains can lead to water leaks. Measure twice and cut once to maintain the liner’s integrity.
Failing to secure the liner with the right adhesive often results in an ineffective seal. Always use products recommended for waterproofing materials. Checking compatibility is essential for a strong seal.
Finally, rushing the process can cause unsatisfactory results. Take your time, ensuring each step is followed meticulously. Testing for leaks after installation can highlight potential problems before they escalate, saving you future repair costs.
Maintaining Your Bathroom’s Waterproofing Integrity Post Shower Pan Liner Installation
Ensuring the long-term durability and efficiency of your bathroom’s waterproofing is crucial after completing your shower pan liner installation. Proper maintenance not only prevents leaks but also shields your home from potential water damage. Regularly checking and maintaining your bathroom’s waterproofing will keep your shower area secure and durable.
Regular Inspection of Seals and Grout: One crucial step is consistently inspecting the grout lines and seals for signs of wear and tear. Over time, grout can crack or deteriorate, allowing water to seep through. Repair any damage promptly using waterproof grout and sealants to ensure a watertight surface.
Address Mold and Mildew Promptly: Mold and mildew thrive in damp environments, and their presence can compromise waterproofing by eroding materials. Keep your shower area well-ventilated and dry it after use. If mold or mildew appears, remove it immediately with specialized cleaners or a vinegar solution.
Preserve Drainage Efficiency: Ensure that the shower drain remains clear and functions properly. Blocked drains can lead to water build-up, which can stress your waterproofing materials. Regularly clean the drain and use protective screens to catch debris.
Use Quality Shower Curtains or Doors: Choosing high-quality shower curtains or doors that effectively keep water within the shower area is essential. Ensure they form a tight seal to prevent splashes from reaching areas without waterproofing.
Avoid Harsh Cleaning Products: Selecting the right cleaning products is vital. Avoid harsh chemicals that can degrade waterproofing materials over time. Instead, opt for gentle, eco-friendly cleaning agents designed for bathroom use.
By integrating these maintenance practices, you not only safeguard your shower pan liner installation but significantly extend the life of your bathroom’s waterproofing. Through diligence and routine checks, you can keep your shower area efficient and leak-free for years to come.
Frequently Asked Questions: Shower Pan Liner Installation
What is the purpose of a shower pan liner?
Purpose: A shower pan liner creates a waterproof barrier to prevent leaks and water damage to your bathroom floor.
What materials are required for installing a shower pan liner?
- PVC or CPE liner
- Mortar and trowel
- Drain assembly
- Scissors or utility knife
How do I ensure a watertight seal during installation?
Ensuring a Seal: Properly install the liner by overlapping seams and corners, and tightly securing it around the drain flange.
Can a shower pan liner be installed over a wooden subfloor?
Yes: However, make sure the subfloor is stable and covered with a layer of plywood for added support.
What are common mistakes to avoid during installation?
Avoid: Incorrect liner sizing, poor sealing around the drain, and inadequate slope towards the drain.
How often should I inspect the liner for leaks?
Inspections: Regularly inspect every 6-12 months and after any heavy usage or visible changes.
Is professional installation recommended?
Recommendation: For the best results, consider hiring a professional to ensure proper waterproofing and reduce the risk of costly repairs.