Every drip, drop, and leak from your shower head is more than just an irritation—it’s an invitation to higher utility bills and water waste. Tackling a leaking shower head might seem daunting, but with the right guidance, it’s straightforward and empowering. This article will transform you from a concerned observer to a confident fixer, saving both resources and peace of mind.
- Discover the common culprits behind a leaking shower head, from worn seals to irritating mineral buildup.
- Learn how to conduct a thorough inspection, helping you pinpoint the exact source of leaks for precise repairs.
- Equip yourself with the essential tools needed for this DIY adventure, ensuring a professional outcome without the expense.
- Follow a step-by-step guide designed to demystify the repair process, turning your effort into a durable solution.
- Adopt preventive measures post-repair, keeping your plumbing system running smoothly for years to come.
As you delve into this guide, you’ll gain practical skills and knowledge, empowering you to maintain your home’s plumbing with confidence and efficiency. Embrace this hands-on approach and take the first step towards becoming a home repair pro!
Understanding the Causes of a Leaking Shower Head
Before you begin any repairs, it’s crucial to understand the potential reasons for a leaking shower head. A common culprit is worn-out seals. These seals ensure the shower head components are tightly connected, but over time they can deteriorate, leading to leaks.
Another frequent cause is mineral buildup. If you live in an area with hard water, minerals like calcium can accumulate within the shower head. This buildup can obstruct water flow and cause pressure changes, resulting in leaks around the shower head or its connections.
Understanding these causes helps in targeted repairs and also assists in selecting the appropriate repair methods. Knowledge of these root causes is essential for anyone aiming to fix a leaking shower head without professional intervention. Ensuring that you address the specific cause of the leak will provide a more durable solution and enhance overall water efficiency in your home.
Inspecting and Identifying Leaks
Effective repair begins with a thorough inspection to identify the exact source of the leak. Start by turning off the water supply to prevent additional water loss. Carefully remove the shower head, if necessary, and examine it for any visible signs of damage or wear.
Inspect the shower head’s seals and gaskets, which are often located at the joints where the shower head connects to the fixture. Check for cracks, deformities, or any looseness that may indicate a problem. Look for signs of mineral buildup, such as white or green deposits, both on the shower head and inside the fixture where it connects.
This methodical approach to inspection will not only help pinpoint the exact location of the leak but also inform your repair strategy. Once you have identified the leaking area, you are better equipped to proceed with the necessary repairs, ensuring an effective and lasting fix.
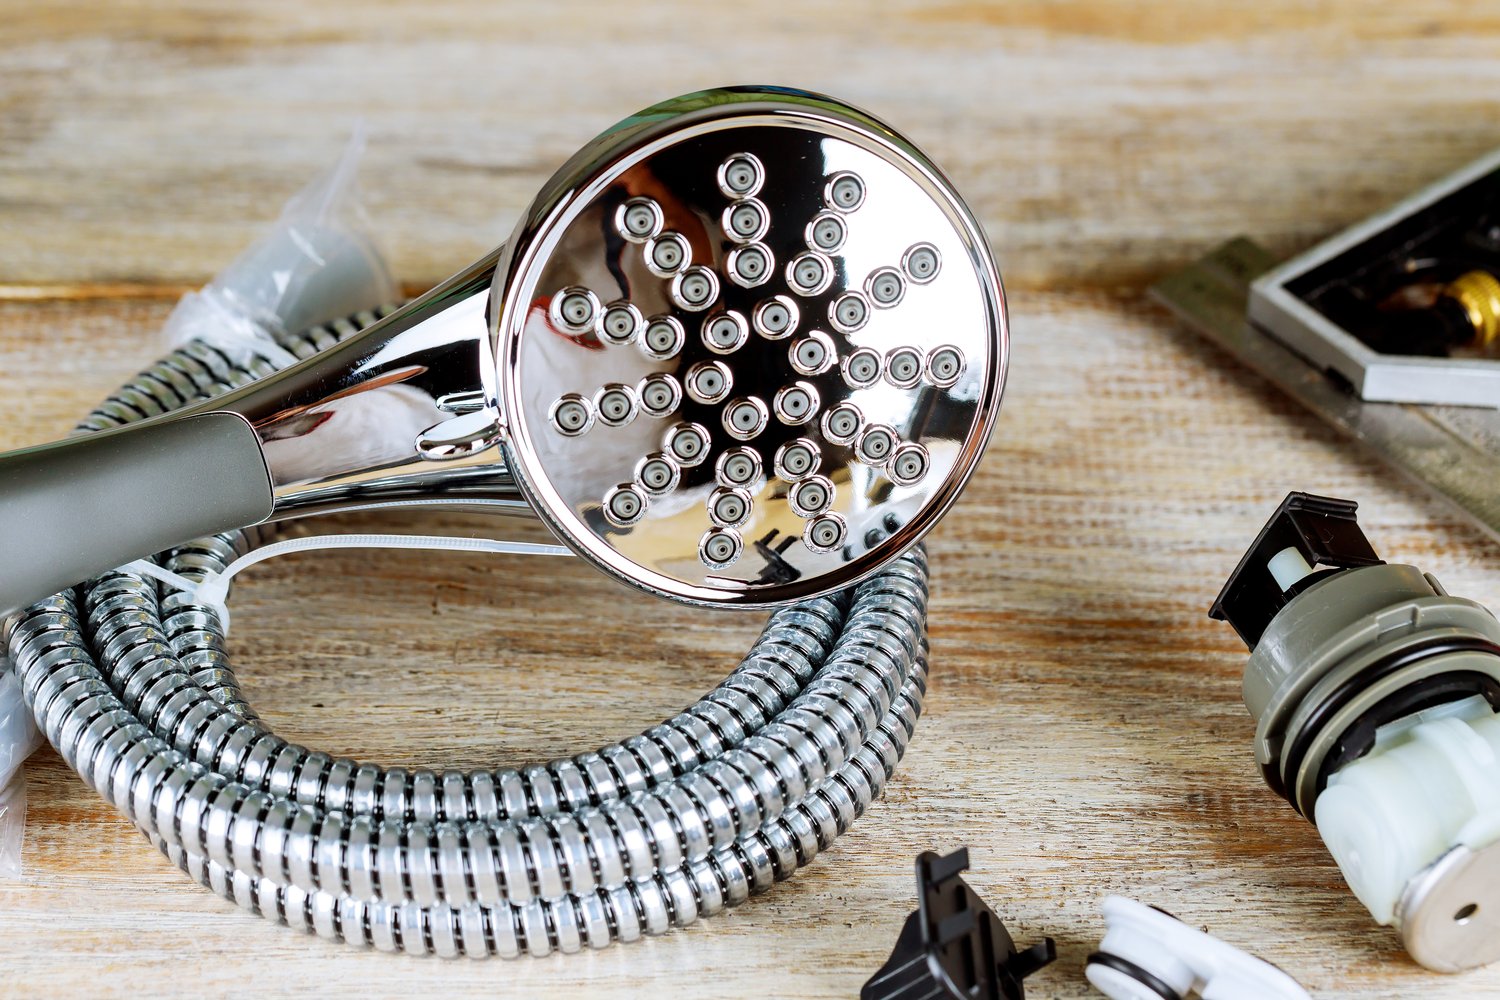
Tools You’ll Need to Fix a Leaking Shower Head Without Professional Help
Embarking on a DIY project to fix a leaking shower head starts with assembling the right set of tools. Having these tools on hand not only simplifies the repair process but also ensures you handle the task efficiently without interruptions. Here are the basic tools you’ll need:
Adjustable Wrench: This is essential for loosening and tightening the shower head without damaging it. If mineral buildup has caused it to become stubborn over time, a wrench will help you exert the necessary force safely.
Plumber’s Tape: Also known as Teflon tape, this is used to ensure a watertight seal when reattaching the shower head. It’s vital for preventing future leaks at thread connections.
Screwdriver: Depending on your shower head model, you might need a screwdriver to remove any screws securing components in place. Ensure you have both flathead and Phillips screwdrivers available.
Old Toothbrush or Small Scrub Brush: Mineral deposits can clog and affect the functionality of your shower head. A toothbrush helps you scrub away these deposits effectively.
Cleaning Solution or Vinegar: To dissolve stubborn mineral buildup, a cleaning solution or vinegar soak can work wonders. It’s an easy fix to maintain the performance of your shower head.
By gathering these tools in advance, you’ll be well-prepared to tackle the task, ensuring your shower head repair is both effective and durable.
Step-by-Step Guide on How to Fix a Leaking Shower Head Without Professional Help
Repairing a leaking shower head can be an easy DIY task when you follow the right steps. Below is a detailed guide to help you successfully fix the issue:
Step 1: Turn Off the Water Supply
Before starting any repair, ensure you turn off the water supply to the shower. This prevents any unwanted splashes and makes the job safer and more efficient.
Step 2: Remove the Shower Head
Use the adjustable wrench to carefully unscrew the shower head from the arm. If it’s stuck due to mineral buildup, you might need to apply some extra force. Always protect the finish with a cloth to avoid scratches.
Step 3: Clean the Shower Head and Check for Blockages
With the shower head removed, inspect it for mineral deposits or blockages. Use the old toothbrush and cleaning solution or vinegar to scrub away any buildup. Let it soak in vinegar if deposits are stubborn.
Step 4: Inspect and Replace Worn Washer or Seals
Check the washer or rubber seals inside the shower head and hose connection. Worn-out washers are a common cause of leaks. Replace any that show signs of wear or damage.
Step 5: Apply Plumber’s Tape
Wrap a few layers of plumber’s tape around the threads of the shower arm. This creates a watertight seal and helps prevent future leaks once the shower head is reattached.
Step 6: Reassemble the Shower Head
Screw the shower head back onto the arm, using the wrench to secure it snugly. However, do not overtighten it, as this can strip the threads or damage components.
Step 7: Test the Shower for Leaks
Turn the water supply back on, and check for any leaks. If you’ve followed the steps correctly, the shower head should function without any drips.
Completing these steps carefully ensures that your shower head repair is effective and long-lasting, preventing water wastage and reducing utility costs.
Preventive Measures After Fixing a Shower Head Leak
Successfully fixing a leaking shower head is just the beginning. To safeguard your plumbing system and avoid future issues, it’s essential to implement effective preventive measures. These strategies will help maintain your shower’s efficiency and longevity.
Regular Cleaning: Mineral deposits from hard water can accumulate on the shower head and cause blockages or leaks. Clean the shower head periodically by soaking it in a vinegar solution. This simple method helps dissolve mineral buildup and ensures optimal water flow.
Check Water Pressure: Excessive water pressure can strain your shower head and lead to leaks. Test your home’s water pressure and adjust it if necessary. Installing a pressure-reducing valve is an effective way to maintain safe and consistent water pressure.
Replace Worn-Out Seals: Over time, rubber washers and seals can degrade, resulting in leaks. Regularly inspect these components and replace them if you notice wear and tear. Fresh seals ensure a snug and leak-free connection.
Examine Shower Head Components: Occasionally disassemble the shower head to inspect inner parts for damage or wear. Tighten loose parts and lubricate moving components with plumber’s grease to prevent leaks and maintain smooth operation.
By adopting these preventive maintenance practices, you not only reduce the risk of future shower head leaks, but also preserve the overall efficiency of your plumbing system. Remember, a proactive approach to maintenance can save you time and money in the long run.
Frequently Asked Questions About Fixing a Leaking Shower Head
What are the common causes of a leaking shower head?
Leaking shower heads are often caused by worn-out seals or mineral buildup blocking the flow.
How can I identify the source of the leak?
Inspect the shower head by running your fingers along the joints and checking for water drips or using a dry cloth to identify moisture.
What tools are necessary for fixing a leaking shower head?
You’ll need a wrench, plumber’s tape, a small brush for cleaning, and possibly a replacement washer or seal.
Is it possible to fix a leaking shower head without professional help?
Yes, by understanding the causes, using the right tools, and following a methodical approach, you can undertake this repair yourself.
What preventive measures can be taken after fixing the leak?
Regular cleaning to prevent mineral buildup and periodic inspection of seals and connections can help prevent future leaks.