Unexpected spikes in shower temperature can turn a relaxing experience into a painful ordeal. Have you ever considered how anti-scald valves could be the key to ensuring your family’s safety and comfort? This article dives into why these often-overlooked devices are essential for preventing scalding injuries and how you can easily install them in your home.
- Explore how anti-scald valves function to maintain consistent shower temperatures and enhance safety.
- Learn about the necessary tools and materials you need before starting the installation process.
- Follow a step-by-step guide that walks you through the installation of anti-scald valves, ensuring a secure and effective setup.
By taking the time to understand and install anti-scald valves, you’ll not only protect your loved ones from unexpected temperature surges in the shower but also enjoy greater peace of mind. Dive into this essential guide to make your home a safer place.
Understanding Anti-Scald Valves for Enhanced Shower Safety
Anti-scald valves are essential components in modern home plumbing, designed to maintain consistent water temperatures in showers and prevent sudden changes that could lead to burns or other discomforts. These valves act as a safety mechanism by regulating the mix of hot and cold water, ensuring the water temperature remains within a safe range.
Understanding how anti-scald valves function is crucial for anyone looking to improve bathroom safety. They employ a pressure-balancing or thermostatic mechanism that adjusts the water flow when there is a fluctuation in water pressure or temperature. This adjustment prevents harsh temperature spikes that could harm users, particularly vulnerable individuals such as children and the elderly.
By installing anti-scald valves, homeowners can significantly enhance shower safety and comfort. These valves offer peace of mind by reducing the risk of injuries typically associated with unexpected hot water surges. Moreover, they contribute to an enjoyable shower experience by ensuring a steady water temperature and flow.
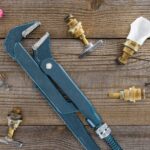
Essential Tools and Materials for Installation
Before embarking on your anti-scald valve installation, it is vital to assemble all necessary tools and materials to ensure a smooth and hassle-free process. A well-prepared toolkit makes the installation efficient and effective, helping you avoid common pitfalls and delays.
Typical tools needed include adjustable wrenches, a Phillips screwdriver, and a pipe wrench. Additionally, a pipe cutter may be required if adjustments to the existing plumbing are necessary.
In terms of materials, you should have Teflon tape and an appropriate anti-scald valve unit that matches your shower’s plumbing configuration. It’s also advisable to have a cloth or a small bucket ready to catch any water spills during the installation.
Having these tools and materials at hand will facilitate the proper installation of the anti-scald valve, reinforcing the safety and comfort of your home plumbing system. Being prepared will help you execute each step with precision, ensuring that your shower’s temperature control is effective and reliable.
Step-by-Step Guide: How to Install Anti-Scald Valves to Protect Your Family from Shower Temperature Spikes
Installing anti-scald valves in your shower is an essential task for home safety, ensuring that water temperature remains consistent and preventing dangerous spikes. This guide will provide you with a comprehensive, step-by-step overview to help you complete this installation easily and effectively.
Step 1: Preparation
Begin by ensuring the water supply to the shower is turned off. This can typically be done by shutting off the main water valve in your home. Drain the residual water from the shower pipes by turning on the shower valve until the flow stops.
Step 2: Access the Shower Valve
Remove any escutcheon plates or covers that conceal the shower valve. This typically requires a screwdriver. Be careful not to damage the surrounding tiles or wall during this process.
Step 3: Remove the Existing Valve
With the water turned off, use a wrench to remove the existing shower valve. Take note of the valve’s placement and connection type, as this will guide you in fitting the new anti-scald valve.
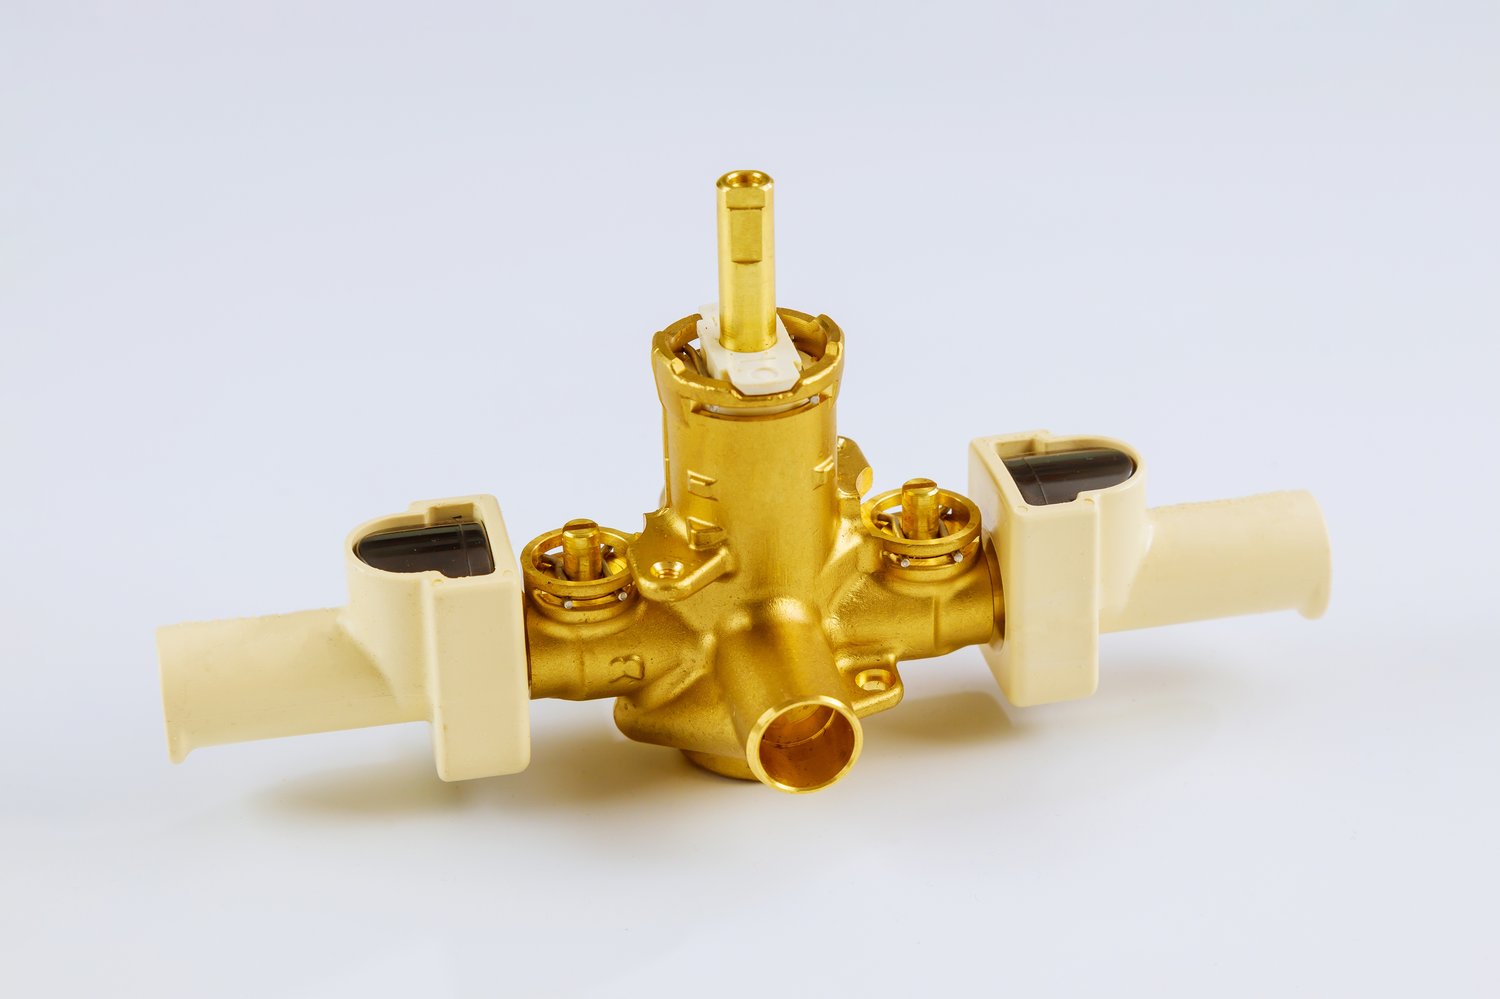
Step 4: Install the Anti-Scald Valve
Position the new anti-scald valve according to the manufacturer’s instructions, ensuring it aligns with the existing plumbing connections. Tighten the valve with a wrench, being careful not to over-tighten as it may cause damage.
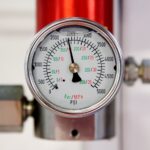
Step 5: Test the Installation
Once installed, turn the water supply back on slowly. Check for any leaks around the valve area. If no leaks are present, proceed to test the shower to ensure the anti-scald function is operating correctly by observing the temperature control.
Following these steps to install anti-scald valves will increase shower safety and comfort for your family, providing peace of mind every time the shower is in use. Whether you’re a seasoned DIY enthusiast or a beginner, this guide is designed to ensure a successful installation.
FAQs About Installing Anti-Scald Valves
What is an anti-scald valve?
An anti-scald valve is a device that regulates water temperature to prevent sudden spikes or drops, ensuring safe shower experiences.
Why should I install an anti-scald valve?
Installing an anti-scald valve protects your family from burns caused by sudden temperature changes.
Are anti-scald valves compatible with all shower systems?
Most anti-scald valves are compatible with standard plumbing systems, but check specific compatibility requirements.
Can I install an anti-scald valve myself?
Yes, with the right tools and guide, you can install an anti-scald valve yourself, though professional installation is recommended for best results.
How do I maintain an anti-scald valve?
Regularly check for mineral buildup and ensure all components are functioning to maintain your valve’s effectiveness.