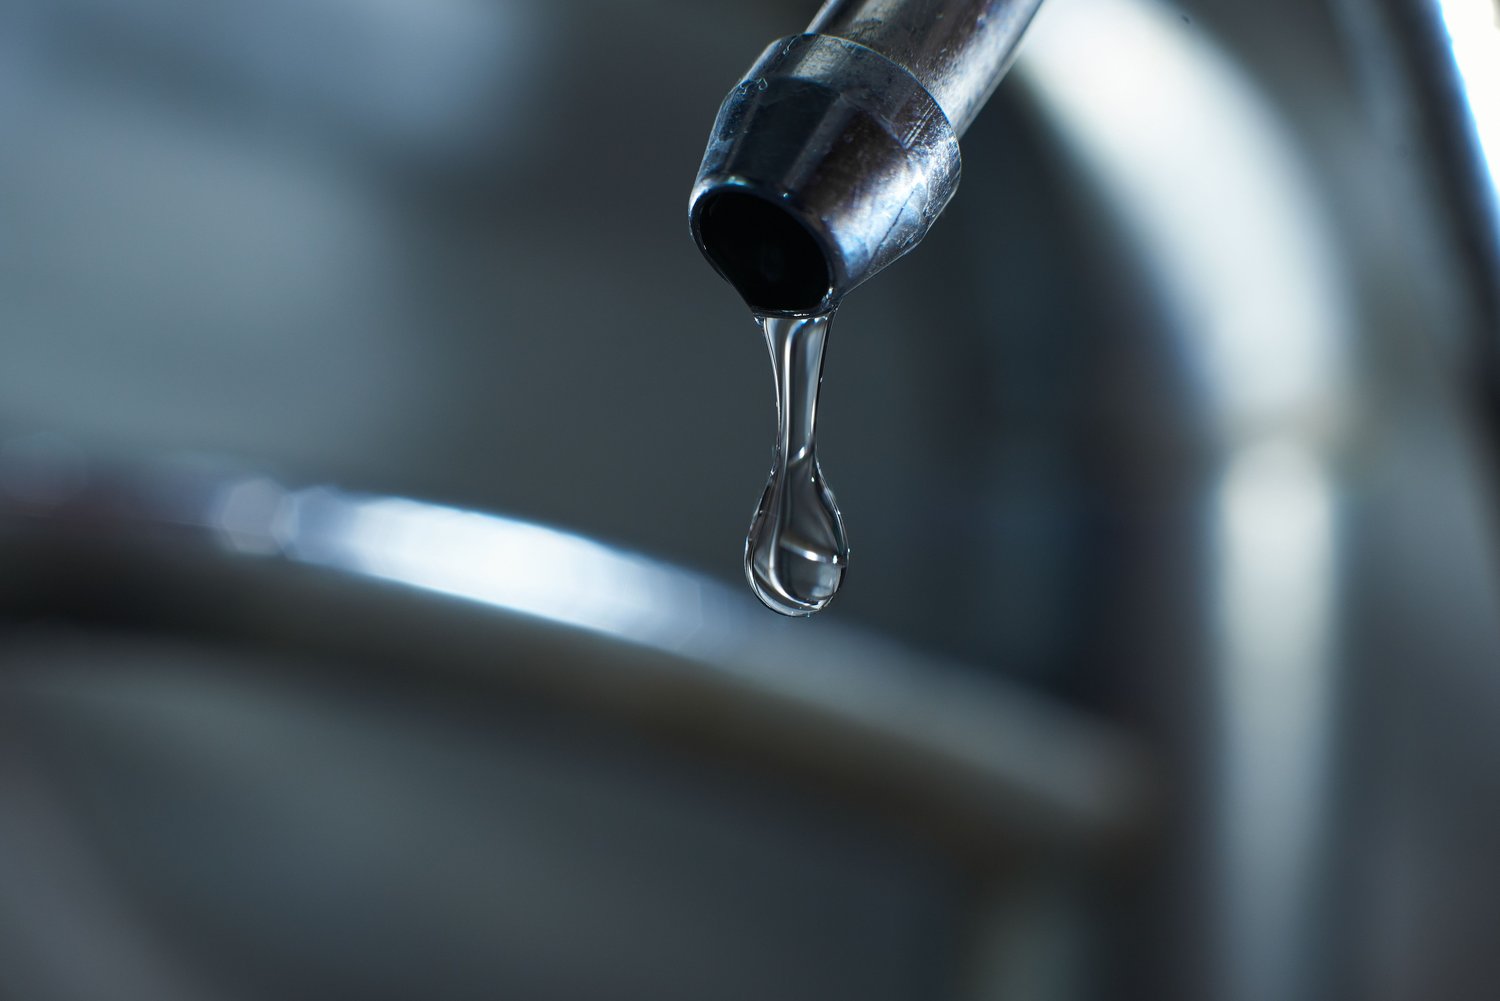
Dripping faucets are more than just a minor annoyance; they can signal underlying plumbing issues, waste water, and increase utility bills if not addressed promptly. Understanding why your faucet leaks even when turned off can save you time and money, especially if DIY repairs are on your agenda.
- Discover the mechanics behind faucet leaks and learn to accurately identify the source of your drip.
- Uncover common culprits like worn washers, corroded valve seats, and the impact of high water pressure on your faucet.
- Follow a comprehensive step-by-step repair guide designed to help you fix leaks efficiently and effectively.
- Explore preventative maintenance tips to extend the lifespan of your faucets and maintain optimal performance.
Equipping yourself with the knowledge to diagnose and repair a dripping faucet can transform a frustrating inconvenience into an opportunity for hands-on home improvement. Let this guide empower you to maintain a leak-free plumbing system.
Identifying the Drip: Why Does My Faucet Drip Even When Turned Off? Complete Repair Guide
Faucet leaks can be both frustrating and costly if not addressed properly. Understanding the dynamics of your plumbing system is crucial. One of the primary steps in tackling this issue is accurately identifying the source of the drip.
Many homeowners ask, “why does my faucet drip even when turned off?” The answer often lies within the internal components of the faucet which may wear out over time. A thorough inspection can reveal the potential issues, whether it is a simple fix or requires a more detailed look into the plumbing setup.
Start by turning off the water supply to avoid any further leakage. Carefully examine the faucet’s structure including its handles, spout, and internal components. Determining the exact location of the drip can guide you to select the appropriate repair method. With the proper understanding, repairing a leaking faucet becomes a manageable task.
Common Causes of Faucet Leaks
The persistent query, “why is my faucet leaking?”, can often be attributed to several common causes. One frequent culprit is worn-out washers. Washers are small components that help create a watertight seal within the faucet. Over time, these can degrade, leading to water seepage.
Another common issue is corroded valve seats. The valve seat connects the faucet and the spout, and corrosion over time can lead to leaks at this junction. The accumulation of minerals from hard water can exacerbate this problem.
High water pressure is another factor that often flies under the radar. While it might not directly cause a leak, it can exacerbate existing faults in the seals, leading to a dripping faucet. Ensuring the water pressure in your home is within the recommended range can prevent complications with your plumbing fixtures. Understanding these common causes helps in diagnosing and addressing the issue efficiently.
Step-by-Step Repair Process: Why Does My Faucet Drip Even When Turned Off? Complete Repair Guide
Addressing a dripping faucet swiftly can prevent water waste and reduce your utility bills. Whether you’re tackling a leaky kitchen sink or bathroom faucet, understanding the repair process can lead to a long-lasting solution. Here, you’ll find a comprehensive guide to help you stop that persistent drip effectively.
Firstly, start by turning off the water supply to your faucet. This step is crucial to avoid any unexpected water flow while you work. Make sure to close the drain as well to prevent losing any small parts.
Next, remove the faucet handle. You might need a screwdriver to do this, carefully unscrewing and setting aside any visible screws. Once the handle is off, assess and remove the stem or cartridge, depending on your faucet type. Be gentle to avoid damage.
Inspect the washer located at the bottom of the stem. A worn or torn washer is often the culprit behind a dripping faucet. Replace it with a new one that matches the size perfectly. It’s a simple yet effective fix.
If replacing the washer doesn’t stop the leak, the issue could lie deeper, such as with the valve seat. Clean or replace the valve seat to ensure better sealing.
Once all repairs are made, carefully reassemble the faucet components, making sure each piece is secured correctly. Finally, turn the water supply back on and test your faucet. Check for any further leaks and tighten parts if necessary.
Tools and Materials Required for Repair
To efficiently repair a dripping faucet, gathering the right tools and replacement parts is vital. Here’s a list of essentials:
Adjustable Wrench: This versatile tool helps in loosening and tightening nuts and bolts.
Screwdriver: Depending on your faucet model, you might need a Phillips or flathead screwdriver to remove handles and screws.
Replacement Washers and O-rings: Ensure you have the correct size for your faucet to achieve a proper seal and prevent future drips.
Plumber’s Tape: Useful for securing connections, ensuring leak-proof seams.
Having these items handy before you begin can streamline the repair process and help you fix your leaky faucet efficiently. Always consider keeping extra washers or O-rings in your toolkit for future maintenance needs. By following these steps and using these tools, you can tackle faucet leaks confidently and ensure a more efficient and effective plumbing system in your home.
Preventing Future Leaks: Maintenance Tips
Ensuring a leak-free faucet requires adopting consistent maintenance practices and smart usage habits. By doing so, you not only extend the lifespan of your faucet but also maintain the efficiency of your home’s plumbing system. Here are several key maintenance tips that can help prevent future leaks:
Regular Cleaning: Keep your faucet clean by gently wiping it down with a soft cloth and mild soap. This prevents the buildup of mineral deposits that can cause leaks or reduce water flow over time.
Inspect Seals and Washers: Regularly check the seals and washers within your faucet. These small components can wear out or get damaged, leading to potential leaks. Replacing them when they show signs of wear is a proactive way to manage potential issues.
Monitor Water Pressure: High water pressure can put unnecessary stress on your faucet and other plumbing fixtures. Consider installing a pressure regulator to maintain optimal water pressure throughout your home. This simple measure can prevent leaks and prolong the life of your plumbing system.
Avoid Over-Tightening: When turning off your faucet, avoid using too much force. Over-tightening can wear out the washers and seals more quickly, leading to leaks. A firm but gentle turn is adequate to stop water flow.
Schedule Routine Inspections: Regular inspections by a professional plumber can catch minor issues before they escalate into major problems. They can identify signs of corrosion, wear, or other potential issues not always visible to the untrained eye.
By implementing these maintenance tips, you can enjoy a reliable and efficient plumbing system that minimizes the risk of unwanted faucet leaks. Consistent care not only preserves functionality but also enhances the overall durability of your home’s faucets.
Frequently Asked Questions about Dripping Faucets
Why does my faucet drip even when turned off?
A faucet may drip due to worn-out washers, corroded valve seats, or high water pressure.
How can I tell if the valve seat is corroded?
You’ll notice leaks around the spout area or uneven water flow. Inspecting for rust or damage is essential.
What tools do I need to fix a leaking faucet?
Essential tools include a wrench, screwdriver, and replacement parts like washers or O-rings.
How often should faucet maintenance be performed?
Routine checks every 6 months can prevent leaks and extend the lifespan of your faucet.
Can high water pressure cause faucet leaks?
Yes, excessive water pressure can strain faucet components, leading to leaks.
What can I do to prevent future faucet leaks?
Regular maintenance, checking for minor issues, and practicing proper usage can significantly reduce leak risks.