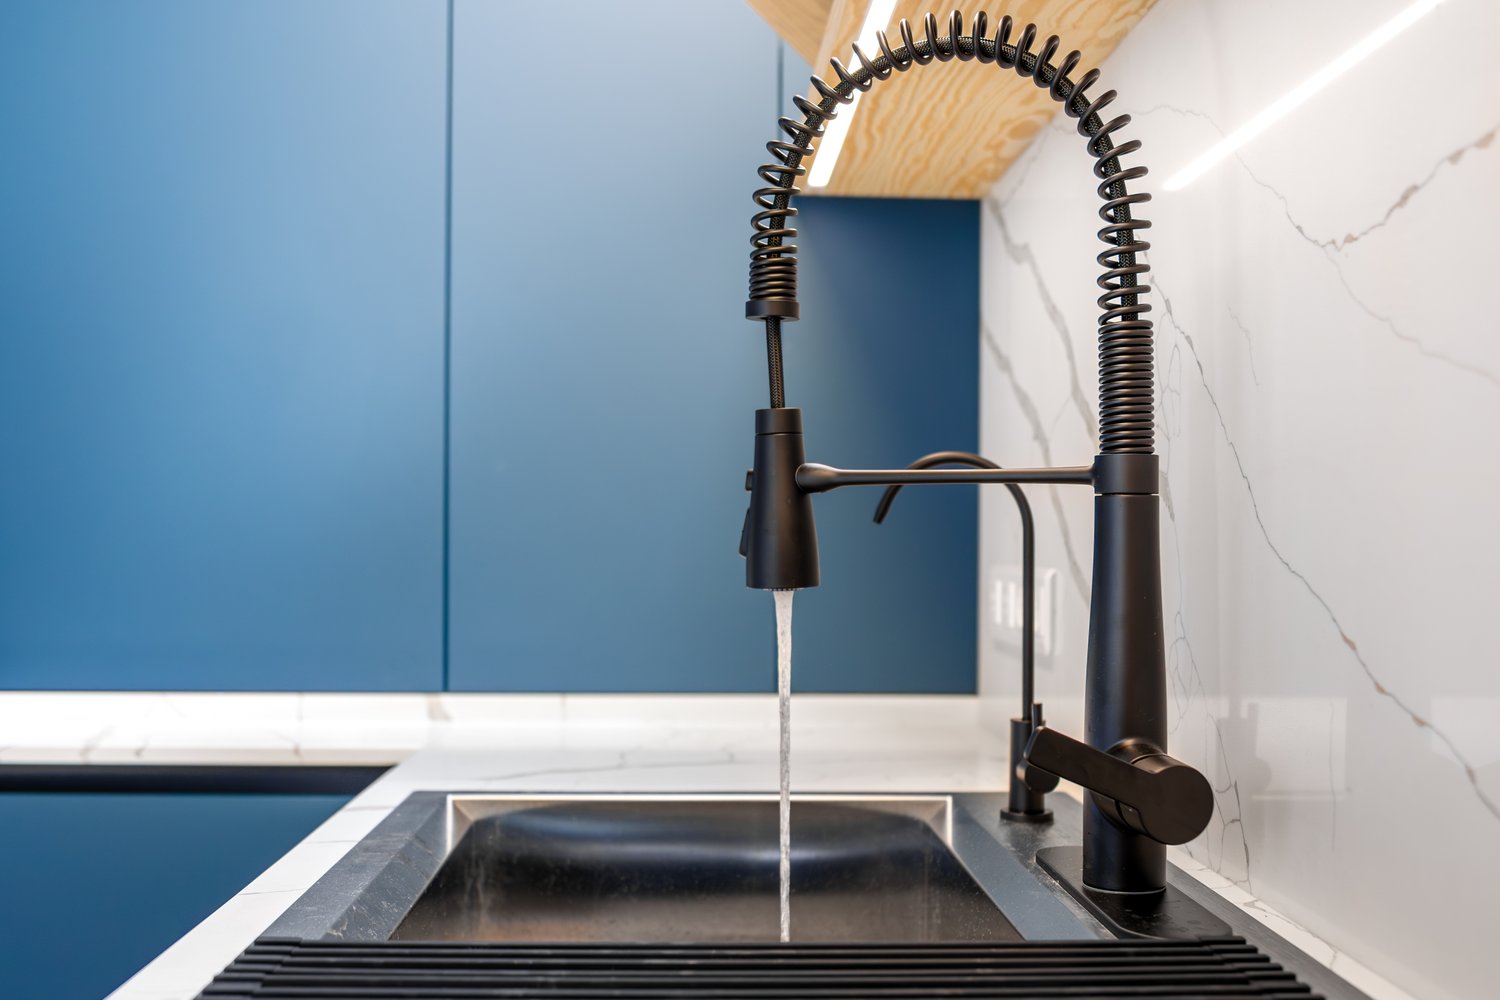
When your kitchen sink spray hose starts to leak or loses pressure, tackling the problem might seem daunting. But what if there’s a method that not only simplifies the replacement process but also enhances your kitchen’s efficiency? Enter the quick-connect kitchen sink spray hose system, a game-changer for those looking to upgrade their fixture with minimal hassle. By understanding this system and following a straightforward guide, you can save both time and effort while ensuring a leak-free installation.
- Explore why the quick-connect system is more efficient than traditional methods for spray hose replacements.
- Identify the key tools and materials needed to perform a successful quick-connect installation.
- Follow a step-by-step process designed to ensure a seamless transition from your old spray hose to a new quick-connect version.
By the end of this article, you’ll be equipped with the knowledge to confidently replace your kitchen spray hose and gain insights into making your kitchen experience even smoother. Ready to dive in and transform your kitchen’s functionality with ease?
Understanding the Kitchen Sink Spray Hose Replacement: Quick-Connect Guide
Replacing a kitchen sink spray hose can transform your kitchen’s functionality, making tasks like rinsing dishes and cleaning easier and more efficient. At the heart of this upgrade is the quick-connect system, a modern solution that offers numerous advantages over traditional methods.
The components of a typical kitchen sink spray hose include the hose itself, the sprayer head, and connection fittings. With a quick-connect system, these components are designed for easy installation and removal, minimizing the need for tools and reducing the risk of leaks.
One of the main benefits of using a quick-connect system is the substantial time savings. Traditional methods often require specialized plumbing tools and can be cumbersome, involving wrestling with tight spaces underneath the sink. In contrast, a quick-connect system allows for a simple snap connection, making it a perfect choice for both DIY enthusiasts and professionals.
Additionally, quick-connect systems enhance durability by providing secure fittings, which help prevent common issues such as water leakage and poor water flow. By streamlining the installation process and enhancing performance, this innovation offers an efficient and reliable solution for upgrading your kitchen’s spray hose system.
Tools and Materials Needed for Replacement
Before you begin your quick-connect kitchen sink spray hose replacement, gather the necessary tools and materials to ensure a smooth and hassle-free experience.
You will need:
- Quick-connect spray hose kit: Ensure that the kit includes a spray hose, a sprayer head, and compatible quick-connect fittings that match your current faucet setup.
- Adjustable wrench: Useful for loosening and tightening connections if needed.
- Bucket or container: Place under the sink to catch any residual water that might spill during the replacement process.
- Towel or rag: Keep it handy to wipe up any water and maintain a dry workspace.
By having these tools and materials ready, you set the foundation for a smooth transition to a more efficient kitchen spray hose system. Understanding the needs of such a project can help you seamlessly achieve expert-level results.
Step-by-Step Process: Kitchen Sink Spray Hose Replacement with a Quick-Connect Guide
Replacing a kitchen sink spray hose may seem daunting, but with the quick-connect system, the process becomes straightforward and efficient. Follow these steps to ensure a secure and leak-free installation.
Begin by turning off the water supply to the kitchen sink. This essential step prevents any accidents and keeps your work area dry. Once the water is off, test the faucet to confirm that no water flows out.
Next, prepare your work area by clearing out any items below the sink. Having a clean and accessible space is crucial for maneuvering and ensuring a smooth replacement process.
Carefully disconnect the existing spray hose from the faucet. This typically involves unscrewing it at the connection point. Take note of how it is attached, as this will guide you when you connect your new hose.
Now it’s time to install the quick-connect spray hose. Start by connecting the hose to the faucet. Many models involve a simple push into place until you hear a click—this sound indicates that your new hose is securely attached.
Ensure that the new hose is in the correct position and free of knots or twists. This ensures smooth water flow and prevents unnecessary wear and tear over time.
Once the new hose is attached, turn the water supply back on slowly. Check for any leaks and adjust connections as necessary to make sure everything is intact.
With everything now in place, test your newly installed kitchen sink spray hose. Observe the water pressure and make sure the nozzle functions as expected.
By following these step-by-step instructions, you’ll have your kitchen spray hose replaced in no time. Maintain optimal functionality and avoid future plumbing headaches with this easy upgrade.
Have you tried this process? Share your experience or any additional tips you might have for making an efficient kitchen upgrade.
Frequently Asked Questions about Kitchen Sink Spray Hose Replacement
What is a quick-connect spray hose?
A quick-connect spray hose is a type of hose that uses a mechanism to easily attach and detach, simplifying installation or replacement.
Why choose a quick-connect system?
Choosing a quick-connect system saves time, reduces effort, and minimizes risk of leaks compared to traditional methods.
What tools are needed for the replacement?
You will need a wrench, plumber’s tape, and the new quick-connect spray hose.
How do I ensure a leak-free installation?
Ensure all connections are tightly secured and use plumber’s tape on threaded areas.
Can I install it myself?
Yes, the quick-connect system is designed for DIY installation and user-friendly operation.
How long does the replacement take?
The replacement typically takes 30-45 minutes, depending on your experience level.


