The well-being of your home’s plumbing system often hinges on a small yet mighty device: the pressure reducing valve. This crucial component not only safeguards your pipes but also extends the lifespan of your entire plumbing setup. In this article, you’ll uncover the practical steps and insights needed to install a pressure reducing valve, ensuring both efficiency and peace of mind for your household.
- Understand the critical role a pressure reducing valve plays in preventing damage from excessive water pressures.
- Discover how to select the perfect valve for your specific plumbing requirements, factoring in compatibility and system demands.
- Learn a straightforward, detailed installation process that helps you avoid common pitfalls and ensures proper functionality.
Embracing these strategies not only bolsters the resilience of your plumbing but also guards against costly repairs. Prepare to delve deeper into the nuances of pressure valve installation—an essential read for anyone looking to maintain the integrity of their home’s water system.
Understanding the Importance: How to Install a Pressure Reducing Valve to Protect Your Plumbing System
Installing a pressure reducing valve is essential for safeguarding your plumbing system. High water pressure can cause an array of problems, including burst pipes and leaks, which can lead to costly repairs. Additionally, excessive pressure can wear out fixtures such as faucets and showerheads prematurely, resulting in unnecessary replacements.
By installing a pressure reducing valve, you regulate the water pressure that enters your plumbing system. This regulation helps to maintain optimal pressure levels, ensuring the longevity and efficiency of pipes and fixtures. Moreover, a regulated system not only prevents damage but also contributes to water conservation by minimizing water wastage due to high pressure.
In summary, a pressure reducing valve serves as a crucial component in maintaining your plumbing system’s integrity, providing both immediate and long-term benefits.
Choosing the Right Pressure Reducing Valve for Your System
Selecting the appropriate pressure reducing valve is paramount for ensuring system efficiency and compatibility. Available in various types, these valves are designed to meet different system requirements.
Considerations for Selection:
- System Size: Ensure that the valve is compatible with the dimensions and pressure capacity of your particular plumbing system.
- Material: Choose a valve made of durable materials like brass or stainless steel, which offer longevity and resistance to corrosion.
- Adjustability: Opt for a valve with adjustable settings to cater to specific pressure needs, providing greater control over your system.
By taking these factors into account, you can select the right pressure reducing valve that guarantees reliable performance and system protection.
Step-by-Step Guide: How to Install a Pressure Reducing Valve to Ensure System Protection
Installing a pressure reducing valve is a crucial step in safeguarding your plumbing system. This guide will walk you through the installation process, ensuring optimal functionality while preventing damage from excessive water pressure.
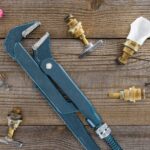
Necessary Tools and Materials:
- Adjustable wrench
- Pipe cutter or hacksaw
- PTFE tape (plumber’s tape)
- Measuring tape
- Screwdriver
- Basin wrench
Safety Precautions:
Before starting, ensure that the main water supply is turned off to prevent any accidental flooding.
Wear appropriate personal protective equipment, including safety goggles and gloves, to guard against potential injury.
Double-check that all tools and materials are within easy reach before you begin the installation.
-
Turn Off Water Supply: Start by turning off the main water supply to your property. This will ensure a safe installation environment and help you accurately assess the current water pressure levels.
-
Locate and Prepare the Installation Site: Identify the point where the pressure reducing valve will be installed. Ideally, this should be near where the main water line enters your property. Use a measuring tape to confirm the dimensions, allowing for an accurate cut.
-
Cut the Pipe: Using a pipe cutter or hacksaw, carefully cut a section of the pipe where the valve will be installed. Ensure the cut edges are smooth and free from burrs by gently sanding them down.
-
Apply PTFE Tape: Wrap PTFE (plumber’s tape) around the threaded ends of the pipe. This will create a watertight seal, preventing any leaks once the valve is in place.
-
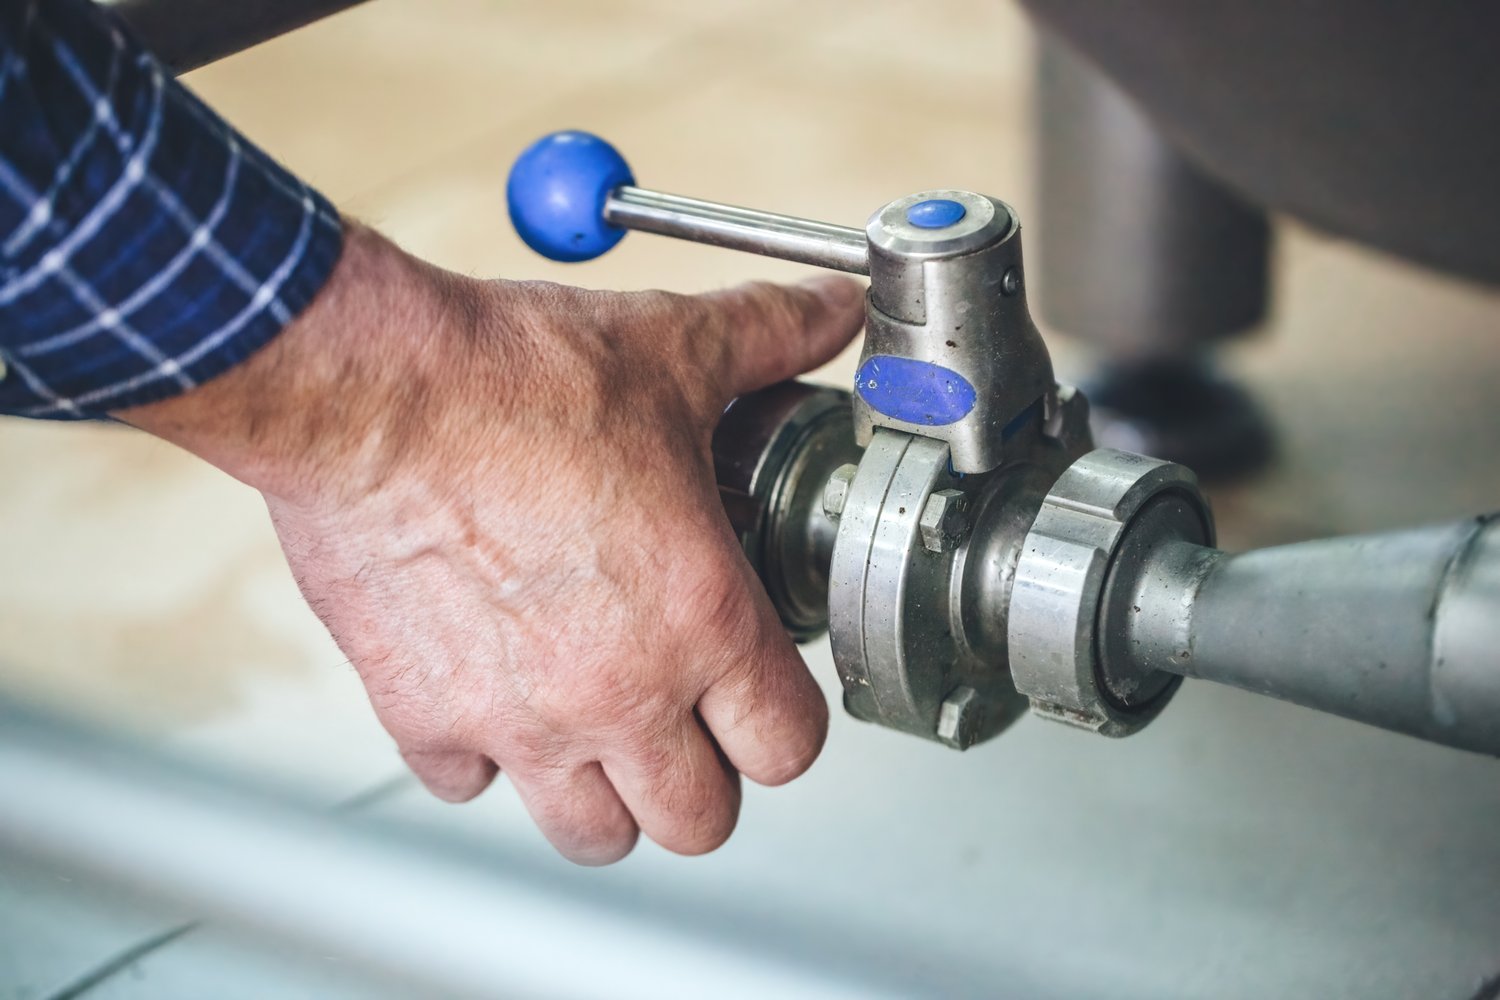
Install the Pressure Reducing Valve: Attach the valve to the prepared pipe section, ensuring the flow arrow on the valve aligns correctly with the direction of water flow. Tighten the connections using an adjustable wrench, but be careful not to over-tighten and risk damaging the fittings.
-
Turn the Water Supply Back On: Slowly turn the main water supply back on. Check for any leaks around the newly installed valve. If leaks are present, carefully tighten the connections or reapply PTFE tape as needed.
-
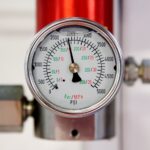
Test the Pressure Reducing Valve: Finally, verify that the water pressure is within suitable limits using a pressure gauge. Adjust the valve settings if necessary to achieve the desired pressure level.
By following this guide, you ensure the effective installation of your pressure reducing valve, enhancing the protection and longevity of your plumbing system. For any advanced guidance, consider consulting with a licensed plumbing specialist.
Frequently Asked Questions About Installing Pressure Reducing Valves
Why is a pressure reducing valve important?
A pressure reducing valve helps to prevent potential damage caused by high water pressure, protecting your plumbing infrastructure.
How do I choose the right pressure reducing valve?
Consider pipe size, water flow rate, and system compatibility when selecting the appropriate valve for your system.
What tools are needed for installation?
You will need a wrench set, pipe cutter, and Teflon tape for the installation process.
Can I install a pressure reducing valve myself?
Yes, if you follow the step-by-step guide provided. However, consulting a professional is advisable for complex systems.
What are the signs that my pressure reducing valve needs replacement?
If you notice inconsistent water pressure or leaks around the valve, it may need replacement.