Facing a sudden water leak can quickly escalate from a minor inconvenience to a major disaster if you’re not prepared. That’s why knowing how to replace your main water shut-off valve could be one of the most crucial skills to protect your property from severe water damage. In this guide, we delve into the essential aspects of emergency valve replacement, helping you stay prepared when every second counts.
- Understanding the Main Water Shut-Off Valve: Discover why this valve is your primary line of defense in emergencies and when a replacement might be necessary.
- Identifying the Right Time for Replacement: Learn to recognize the warning signs of a failing shut-off valve before it causes trouble.
- Replacement Process: Follow a step-by-step guide to effectively replace your valve, ensuring you have the right tools and approach.
- Post-Replacement Maintenance: Explore essential tips to maintain your new valve’s efficiency and extend its lifespan.
By mastering the art of the main water shut-off valve replacement, you’ll not only safeguard your premises but also gain peace of mind knowing that you’re prepared for unforeseen emergencies. Dive into the article to equip yourself with the knowledge and skills you need to avert potential water disasters.
Understanding the Main Water Shut-Off Valve: Importance and Emergency Preparedness
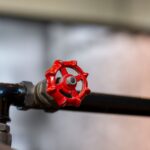
The main water shut-off valve is a vital component of any home’s plumbing system. Positioned just before your home’s plumbing connections, this valve serves as the gateway for the main water line. It allows you to control the flow of water into your home, playing a crucial role in emergency situations.
In scenarios such as burst pipes or sudden leaks, the ability to swiftly cut off the water supply can prevent significant damage. Knowing the location and operation of your main shut-off valve is essential to effectively managing these emergencies.
Regular inspections are key in maintaining its functionality. Look out for signs such as visible corrosion or difficulty in turning the valve, which may indicate the need for replacement. Ensuring your valve is in top condition enhances your home’s safety and reduces the risk of water damage during a crisis.
Identifying When It’s Time for a Valve Replacement
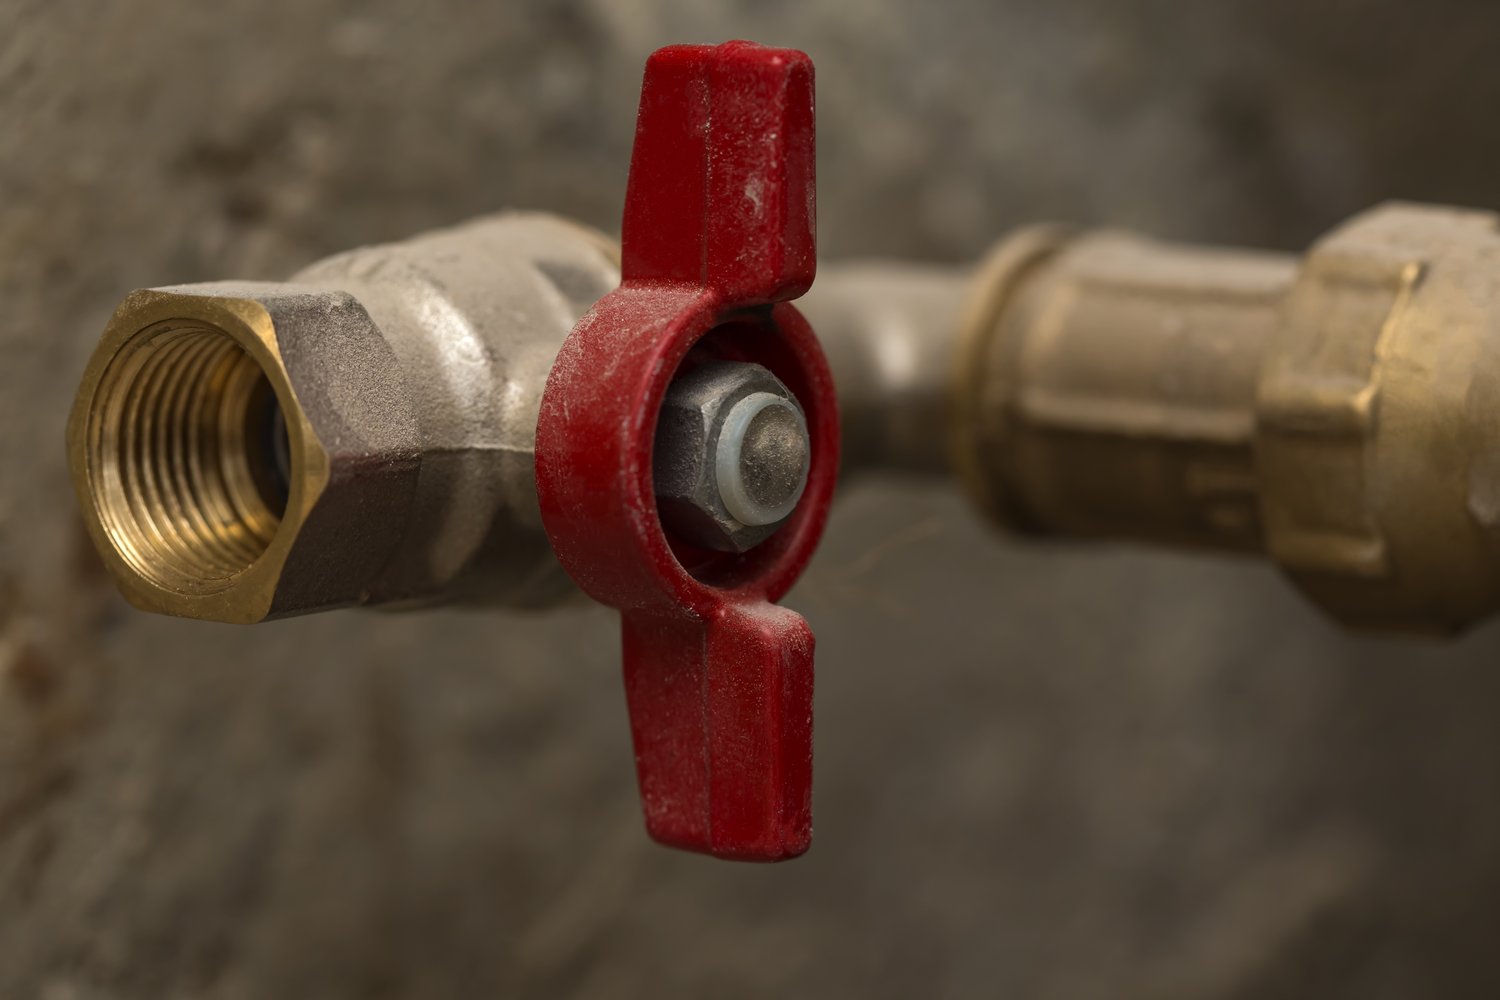
Spotting the symptoms of a failing water shut-off valve early can save you from potential headaches. Common indicators of a malfunctioning valve include persistent leaks around the area and noticeable rust, which can weaken the valve’s integrity over time.
If operating the valve becomes challenging or if you notice that it doesn’t turn smoothly, these are clear signs that it might be time for a replacement. Such issues not only compromise the valve’s efficacy but also leave your home vulnerable during unexpected water emergencies.
Regularly checking your main water shut-off valve’s condition and acting promptly on these warning signs are essential steps in maintaining a reliable plumbing system.
Key Steps in the Main Water Shut-Off Valve Replacement: Emergency Preparation Guide
Replacing your main water shut-off valve is a vital task that ensures your home is prepared for emergencies, especially in preventing significant water damage. Understanding the process begins with selecting the right tools and materials, followed by safely executing the replacement. Follow these expert-recommended steps to ensure a successful replacement.
Step 1: Turn Off the Water Supply
Locate the primary water supply line and turn off the water. This is crucial to avoid any water spillage during the valve replacement process. Confirm that the water is shut off by turning on a faucet and checking for any flow.
Step 2: Drain the Pipes
Once the supply is off, open a faucet at the lowest point in your home to drain any remaining water in the pipes. This reduces pressure and allows you to work without water spilling.
Step 3: Choose the Correct Replacement Valve
With various types of shut-off valves available, it’s important to select one that matches your existing system. Assess the pipe size and material to choose a compatible valve, ensuring it fits seamlessly.
Step 4: Remove the Old Valve
Use a wrench to carefully remove the old valve. Loosen the nuts securing the valve and gently detach it. If the valve is stuck due to rust or debris, apply some penetrating oil to ease removal.
Step 5: Install the New Shut-Off Valve
Position the new valve in place and tighten the nuts securely using a wrench. Ensure that the valve is aligned correctly to prevent leaks. Use plumbing tape around the threads to enhance sealing and prevent water leakage.
Step 6: Test the New Valve
Turn the water supply back on and test the new shut-off valve. Open and close the valve multiple times to confirm that it operates smoothly without any leaks.
By methodically following these steps, you can efficiently replace your main water shut-off valve, ensuring your property is safe in emergencies. Regularly inspect and maintain your plumbing system to further enhance its longevity.
Essential Tools and Materials for a Smooth Replacement
Having the right tools and materials is crucial for an efficient and safe replacement of your main water shut-off valve. Below is a comprehensive list to prepare you for this task:
Wrench Set
Invest in a good quality set of adjustable wrenches to accommodate various pipe sizes. This is essential for both removing the old valve and installing the new one.
Pipe Cutter
A reliable pipe cutter is necessary if you need to resize or adjust the pipe length to fit the new valve. A clean cut ensures a better seal and fit.
Plumber’s Tape
Also known as Teflon tape, this is used to wrap the threads of the pipes, providing a leak-proof seal when installing the new valve.
Penetrating Oil
If the existing valve is rusted or difficult to remove, a penetrating oil can help loosen the connections, easing removal.
With these essential tools and materials, you’re equipped to undertake a smooth and effective valve replacement. Each component plays a role in ensuring that the process is completed efficiently, enhancing the safety and functionality of your home’s plumbing system.
Post-Replacement Checks and Maintenance Tips
Once you have successfully replaced your main water shut-off valve, it is vital to conduct a thorough post-replacement check. This ensures that the new valve is functioning correctly and your water system remains secure. Start by carefully inspecting the connection points for any leaks. Turn your water supply back on slowly to avoid sudden pressure surges that could affect the new installation.
Listen closely for any unusual sounds, such as hissing or clattering, which might indicate a loose fixture or an incorrect installation. If everything appears fine, try turning the valve on and off a few times to ensure smooth operation. This can help dislodge any debris that might be caught in the mechanism, ensuring a seamless flow.
To prolong the life of your new shut-off valve and maintain its efficiency, implement regular maintenance checks. Periodically inspect the valve for any signs of wear, rust, or leaks. Ensuring the valve’s easy accessibility is crucial for fast action during emergencies. Consider lubricating the valve handle and mechanism with a water-resistant lubricant to maintain smooth operation.
It’s also beneficial to test the valve’s functionality every few months. This practice helps you to detect any issues early on, avoiding more severe plumbing problems. Regular maintenance and vigilance will ensure your valve remains reliable, providing peace of mind and protecting your property. Follow these post-installation tips to ensure your water shut-off system continues to operate effectively and efficiently.
Frequently Asked Questions on Main Water Shut-Off Valve Replacement
What is a main water shut-off valve?
The main water shut-off valve controls the flow of water into your home and is critical for stopping water supply during emergencies.
How do I know if my valve needs replacement?
Signs like leaks, rust, or difficulty in turning the valve indicate it’s time for replacement.
What tools are essential for replacing the shut-off valve?
- Wrenches
- Pliers
- Pipe cutter
- Replacement valve
Can I replace the valve myself?
Yes, with the right tools and instructions, you can replace it yourself. However, consult a professional if unsure.
What should I check after the valve replacement?
Ensure there are no leaks and verify the valve operates smoothly by turning the water on and off.
How often should I inspect the shut-off valve?
Regularly inspect the valve every six months to ensure proper operation and prevent emergencies.