Lighting connects us to our homes, but what if controlling it could be even more convenient? Imagine being able to switch a light on or off from different rooms, bringing a touch of flexibility and modernization to your living space. Learning to wire a three-way switch not only enhances the functionality of your home but also adds a layer of control you didn’t know you needed. In this guide, we unravel the process of setting up your lighting system to be managed from multiple locations, ensuring that every corner of your home is just one switch away from the perfect ambiance.
- Explore the intricacies of three-way switch systems to gain a firm understanding of its components and principles.
- Discover which tools and materials are essential for a safe and successful installation.
- Follow a step-by-step guide that walks you through the wiring process, ensuring you can achieve effective lighting control with confidence.
By the end of this detailed guide, you’ll not only understand the power of a three-way switch but also be equipped with the practical knowledge to enhance your home’s lighting setup. Dive in to transform your ordinary lighting control into something extraordinary.
Understanding Three-Way Switch Systems: How to Wire a Three-Way Switch
Three-way switch systems are invaluable for controlling lighting from multiple locations, making them an essential feature in modern homes. Before diving into the wiring process, it’s crucial to grasp the basic components and principles that make these systems work efficiently.
A three-way switch setup consists of two switches that control the same light fixture. Unlike a standard single-pole switch that controls a fixture from one location, three-way switches allow you to operate a light from two different points, such as at opposite ends of a hallway or staircase.
Understanding the wiring is fundamental. Within the system, three wires play key roles: the common wire, the traveler wires, and the ground wire. The common wire connects to a power source or the light fixture, while two traveler wires link the switches together, creating a circuit that allows current flow in multiple pathways. The ground wire enhances safety by grounding the electrical circuit.
For an efficient installation, it’s essential to familiarize yourself with wiring diagrams specific to three-way switches. These diagrams provide a visual representation, clarifying how wires should be connected and highlighting the positioning of each component within the electrical box. Such preparation will boost confidence, ensuring you approach your wiring project with the knowledge needed for success.
Tools and Materials Needed for Wiring a Three-Way Switch
Embarking on wiring a three-way switch requires a set of tools and materials that ensure precision and safety. Having the right equipment is paramount to avoid complications during the installation process and to maintain electrical safety.
The essential tools include:
- Wire cutters and strippers for adjusting wires to the desired length and removing insulation efficiently.
- A screwdriver set, necessary for securing switch and faceplate screws.
- A voltage tester, which is critical for ensuring that the power is off before beginning any work on electrical systems.
- Needle-nose pliers to manipulate wires into connectors and fittings.
Additionally, gather the following materials:
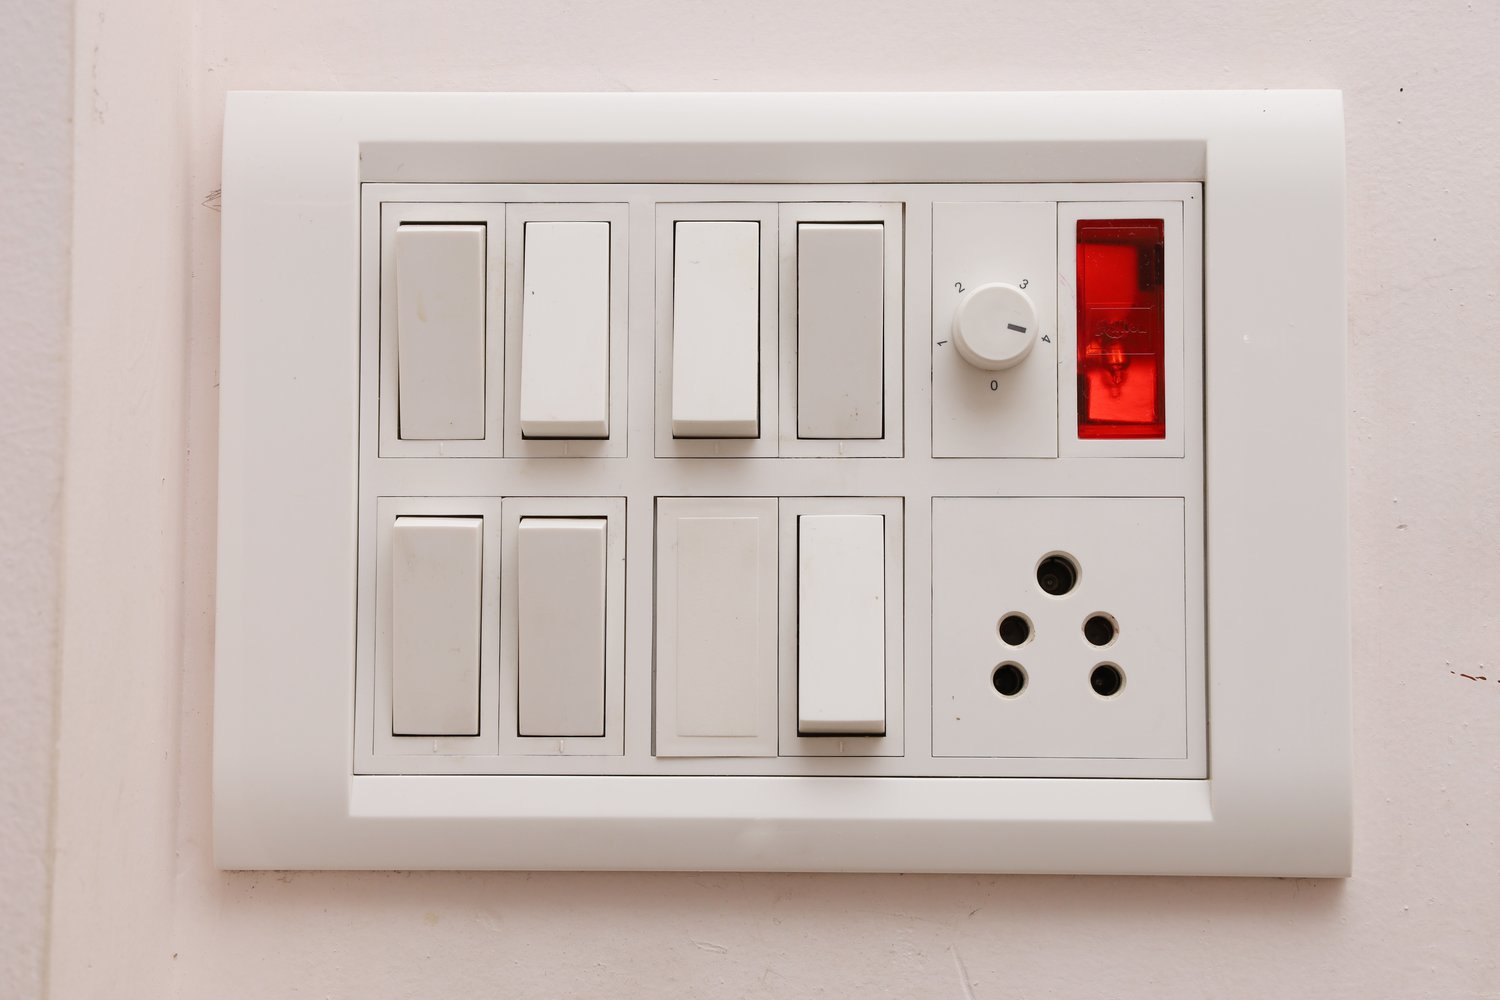
- Two three-way switches that match your desired design and functionality.
- Electrical box cover plates for safety and aesthetics.
- Electrical tape to insulate connections and prevent short circuits.
- 14/3 or 12/3 electrical cable, which contains two traveler wires, one common wire, and a ground wire.
Lastly, prioritize safety gear. Wear insulated gloves to protect against electrical shocks and use safety goggles to shield your eyes from any potential electrical discharge. These precautions coupled with the right tools and materials lay the groundwork for a successful and safe wiring project.
Step-by-Step Guide: How to Wire a Three-Way Switch for Effective Lighting Control from Multiple Locations
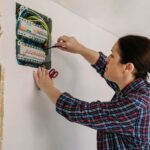
Wiring a three-way switch can seem daunting, but with proper guidance, it becomes a manageable task. Follow these detailed instructions to ensure a safe and functional installation for enhanced lighting control across your home.
Step 1: Turn Off the Power
Before starting, ensure electrical safety by turning off the power at the circuit breaker. Verify that the power is off using a voltage tester.
Step 2: Install the First Switch Box
Mount the first switch box in a convenient location. Ensure it is securely fastened and readily accessible.
Step 3: Run Cables Between Switches
Use electrical cables to connect the first switch box to the second one. Typically, a 3-wire cable with a ground (14/3 or 12/3) is required.
Step 4: Connect the Common Terminal
Identify the common terminal on both switches. It’s usually a darker colored screw. Connect the live power wire to the common terminal on the first switch.
Step 5: Wire the Travelers
Connect the traveler wires to the traveler terminals on both switches. These terminals are usually brass or lighter colored.
Step 6: Connect to the Light Fixture
From the second switch, connect a wire from the common terminal to the light fixture. Ensure all connections are secure and insulated.
Step 7: Grounding
Connect the bare copper or green ground wires to the ground terminal on the switches and the electrical box to ensure safety.
Step 8: Final Checks
Double-check all connections to ensure no loose wires. Once confirmed, gently push the switches into the wall boxes and secure them with screws.
Step 9: Restore Power
Turn the power back on at the circuit breaker. Test the three-way switch functionality by toggling the switches to operate the light from multiple locations.
Completing these steps ensures your three-way switch installation is both safe and effective, providing seamless lighting control throughout your space. Reviewing these steps can significantly enhance understanding and confidence in executing electrical tasks.
Frequently Asked Questions: Wiring a Three-Way Switch
What is a three-way switch?
A three-way switch allows control of a light from two different locations.
Do I need any special tools to wire a three-way switch?
Yes, you need a screwdriver, wire stripper, voltage tester, and proper safety gear.
Can I wire a three-way switch by myself?
You can, but ensure you have a sound understanding of electrical principles and safety precautions.
Why is my three-way switch not working?
Check if the wiring is correctly connected and if any wires are loose or damaged.
What should I do before starting the wiring process?
Turn off the power at the circuit breaker to avoid electrical shock.